

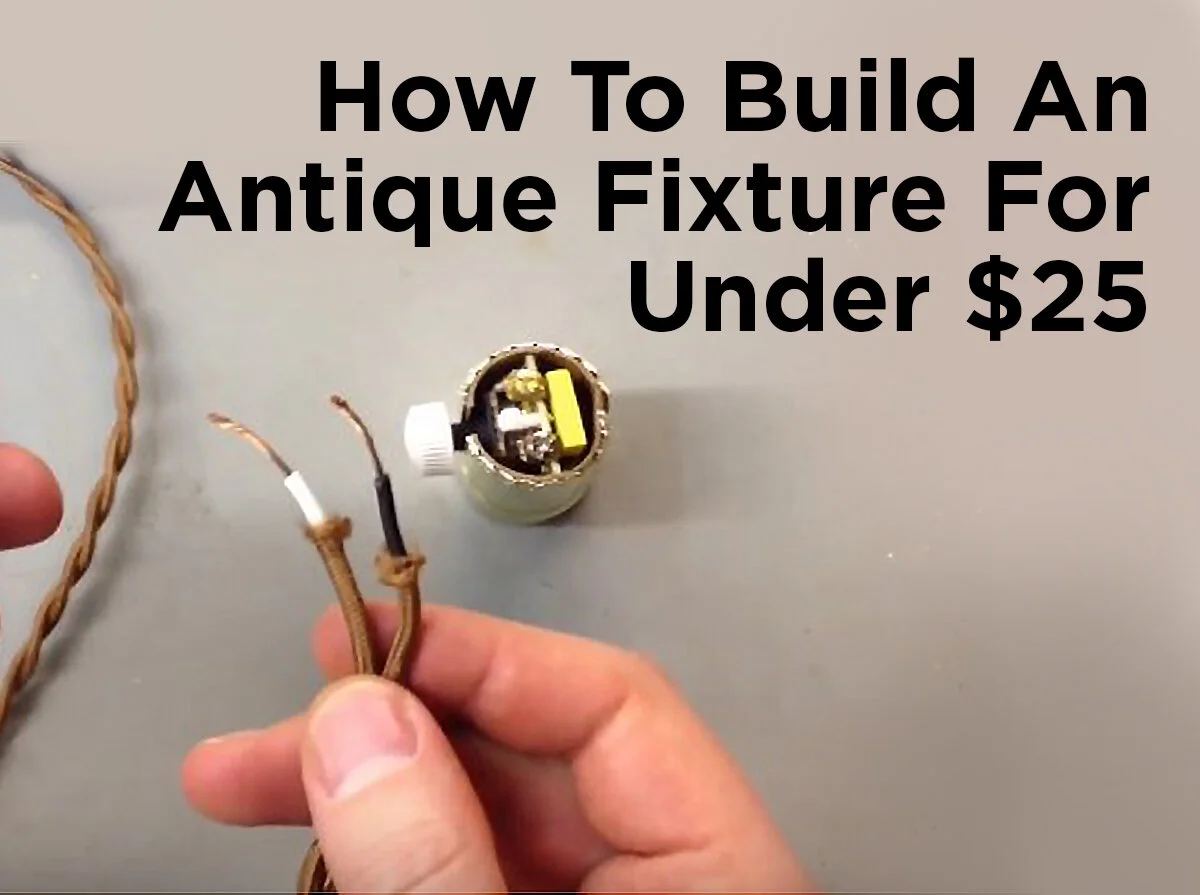
How to Build an Antique Fixture for Under $25
As we've discussed in an earlier article, Antique light bulbs and antique light fixtures have become increasingly popular in recent years. Whether it's nostalgia or just an honest affinity for ornate blown glass and intricately looped glowing filaments, restaurants, upscale retail shops, and even homeowners can't get enough of antique lighting. Unfortunately, high demand leads to inflated prices. Any simple fixture that claims to be "antique" or "vintage" costs a premium. Some are worth the price, but we've seen simple antique pendants out there going for over $100, when the raw materials to build the fixture cost under $25. These are certainly nice products, but are they worth the markup?
The following guide will show you how to build your own antique swag light fixture in less than 10 minutes with materials you can buy for about $25, including the bulb.
Needed Materials:
(1) antique twisted wire cord - $6.00 (1) dimming brass socket - $10.00 (1) EZ grip antique plug - $1.50 (1) antique light bulb - $5.00
Needed Tools:
A flat head screwdriver A set of wire strippers A pair of scissors
Step 1: Prepare the Wire

Prepared Wires
Using wire strippers, strip the PVC jacket of both wires on both ends of the cord, exposing about 1/2 inch of the inner copper strands. Trim back the cloth covering another 1/2 inch, using scissors to cut away any frayed threads.
Step 2: Attach the Socket

Attaching Socket Terminals
Pop the socket cap off the socket shell. Feed one end of the cord through the top of the socket cap. At this point, tie the wires into an Underwriter's Knot to relieve excess strain. Using the screwdriver, attach the wires to the terminals in the socket shell. Since the plug we're using is non-polarized, it doesn't matter which wire you attach to which terminal. Slide the socket cap down the cord and snap it back to the socket shell.
Step 3: Attach the EZ Grip Plug

Attaching Plug Terminals
Remove the plug cap from the shell by removing the screws on either side of the plug blades. Slide the plug shell out of the plug cap. Feed the free end of the cord through the top of the plug cap, then attach the wires to plug terminals on the shell, just as you did with the socket. Slide the cap back over the shell and replace the screws.
Step 4: Screw in the Bulb

Screwing in the Bulb
Screw the bulb into the socket. You can now hang your swag fixture from a ceiling hook and plug it into any wall outlet. Use the built-in dimmer on the socket to adjust the brightness to a suitable level.
Optional Modifications
If you'd like to make a pendant fixture instead of a swag, the modification is simple: Just leave off the EZ grip plug and direct wire the fixture into an existing J-Box.
This is a very simple and versatile fixture, so there are many ways to modify it. You can use a different socket, add a cage or lamp shade over the bulb, twist together multiple pendants to create a chandelier, or even attach the socket to an old table lamp. Do you have other ideas? Post them in the comments, on our Facebook, or let us know on Twitter. Even better, send us a photo of your project and we'll post it on our Pinterest.
Important Safety Note
This homemade fixture is not UL listed. Use reasonable safety precautions when assembling and installing your fixture. Never leave the fixture unattended or plugged in when not in use.

![How to Repair a Table Lamp [Video]](https://images.squarespace-cdn.com/content/v1/56feae0ab6aa60ebb6039bf3/1614706440870-KEAU6MXE9XZW22L476MV/How+to+Repair+a+Table+Lamp.jpg)

