


How to Install a Twinkle Light Ceiling
You’ve seen it at weddings or maybe on a Pinterest board and always wondered, “How did they do that?” Well consider this mysterious DIY decoration technique solved. The twinkle light ceiling is made up of many sets of mini string lights, mounting clips, and some good ol’ fashioned know-how.
Materials Needed
The ceiling at one of 1000Bulbs.com's previous holiday office parties
Incandescent or LED mini string lights (icicle mini lights can also be used)
Many (strategically placed) electrical outlets
Twist ties or zip ties
A sturdy ladder (and a trustworthy person to hold it!)
Incandescents vs. LEDs
Given the assembly time and the sheer amount of lights needed to accomplish the look, it’s best if you install your sparkling indoor sky in an area where you will use it fairly often. A twinkle light ceiling, while pretty, is not considered a temporary installation. Bedrooms, dedicated event venues, or even your patio are a few places where you could benefit the most from this project. The first decision you need to make is the most important. You have the choice of either using traditional incandescent mini string lights or the newer, LED mini string lights. Your approach to the setup will change significantly depending on the type of string lights you use.
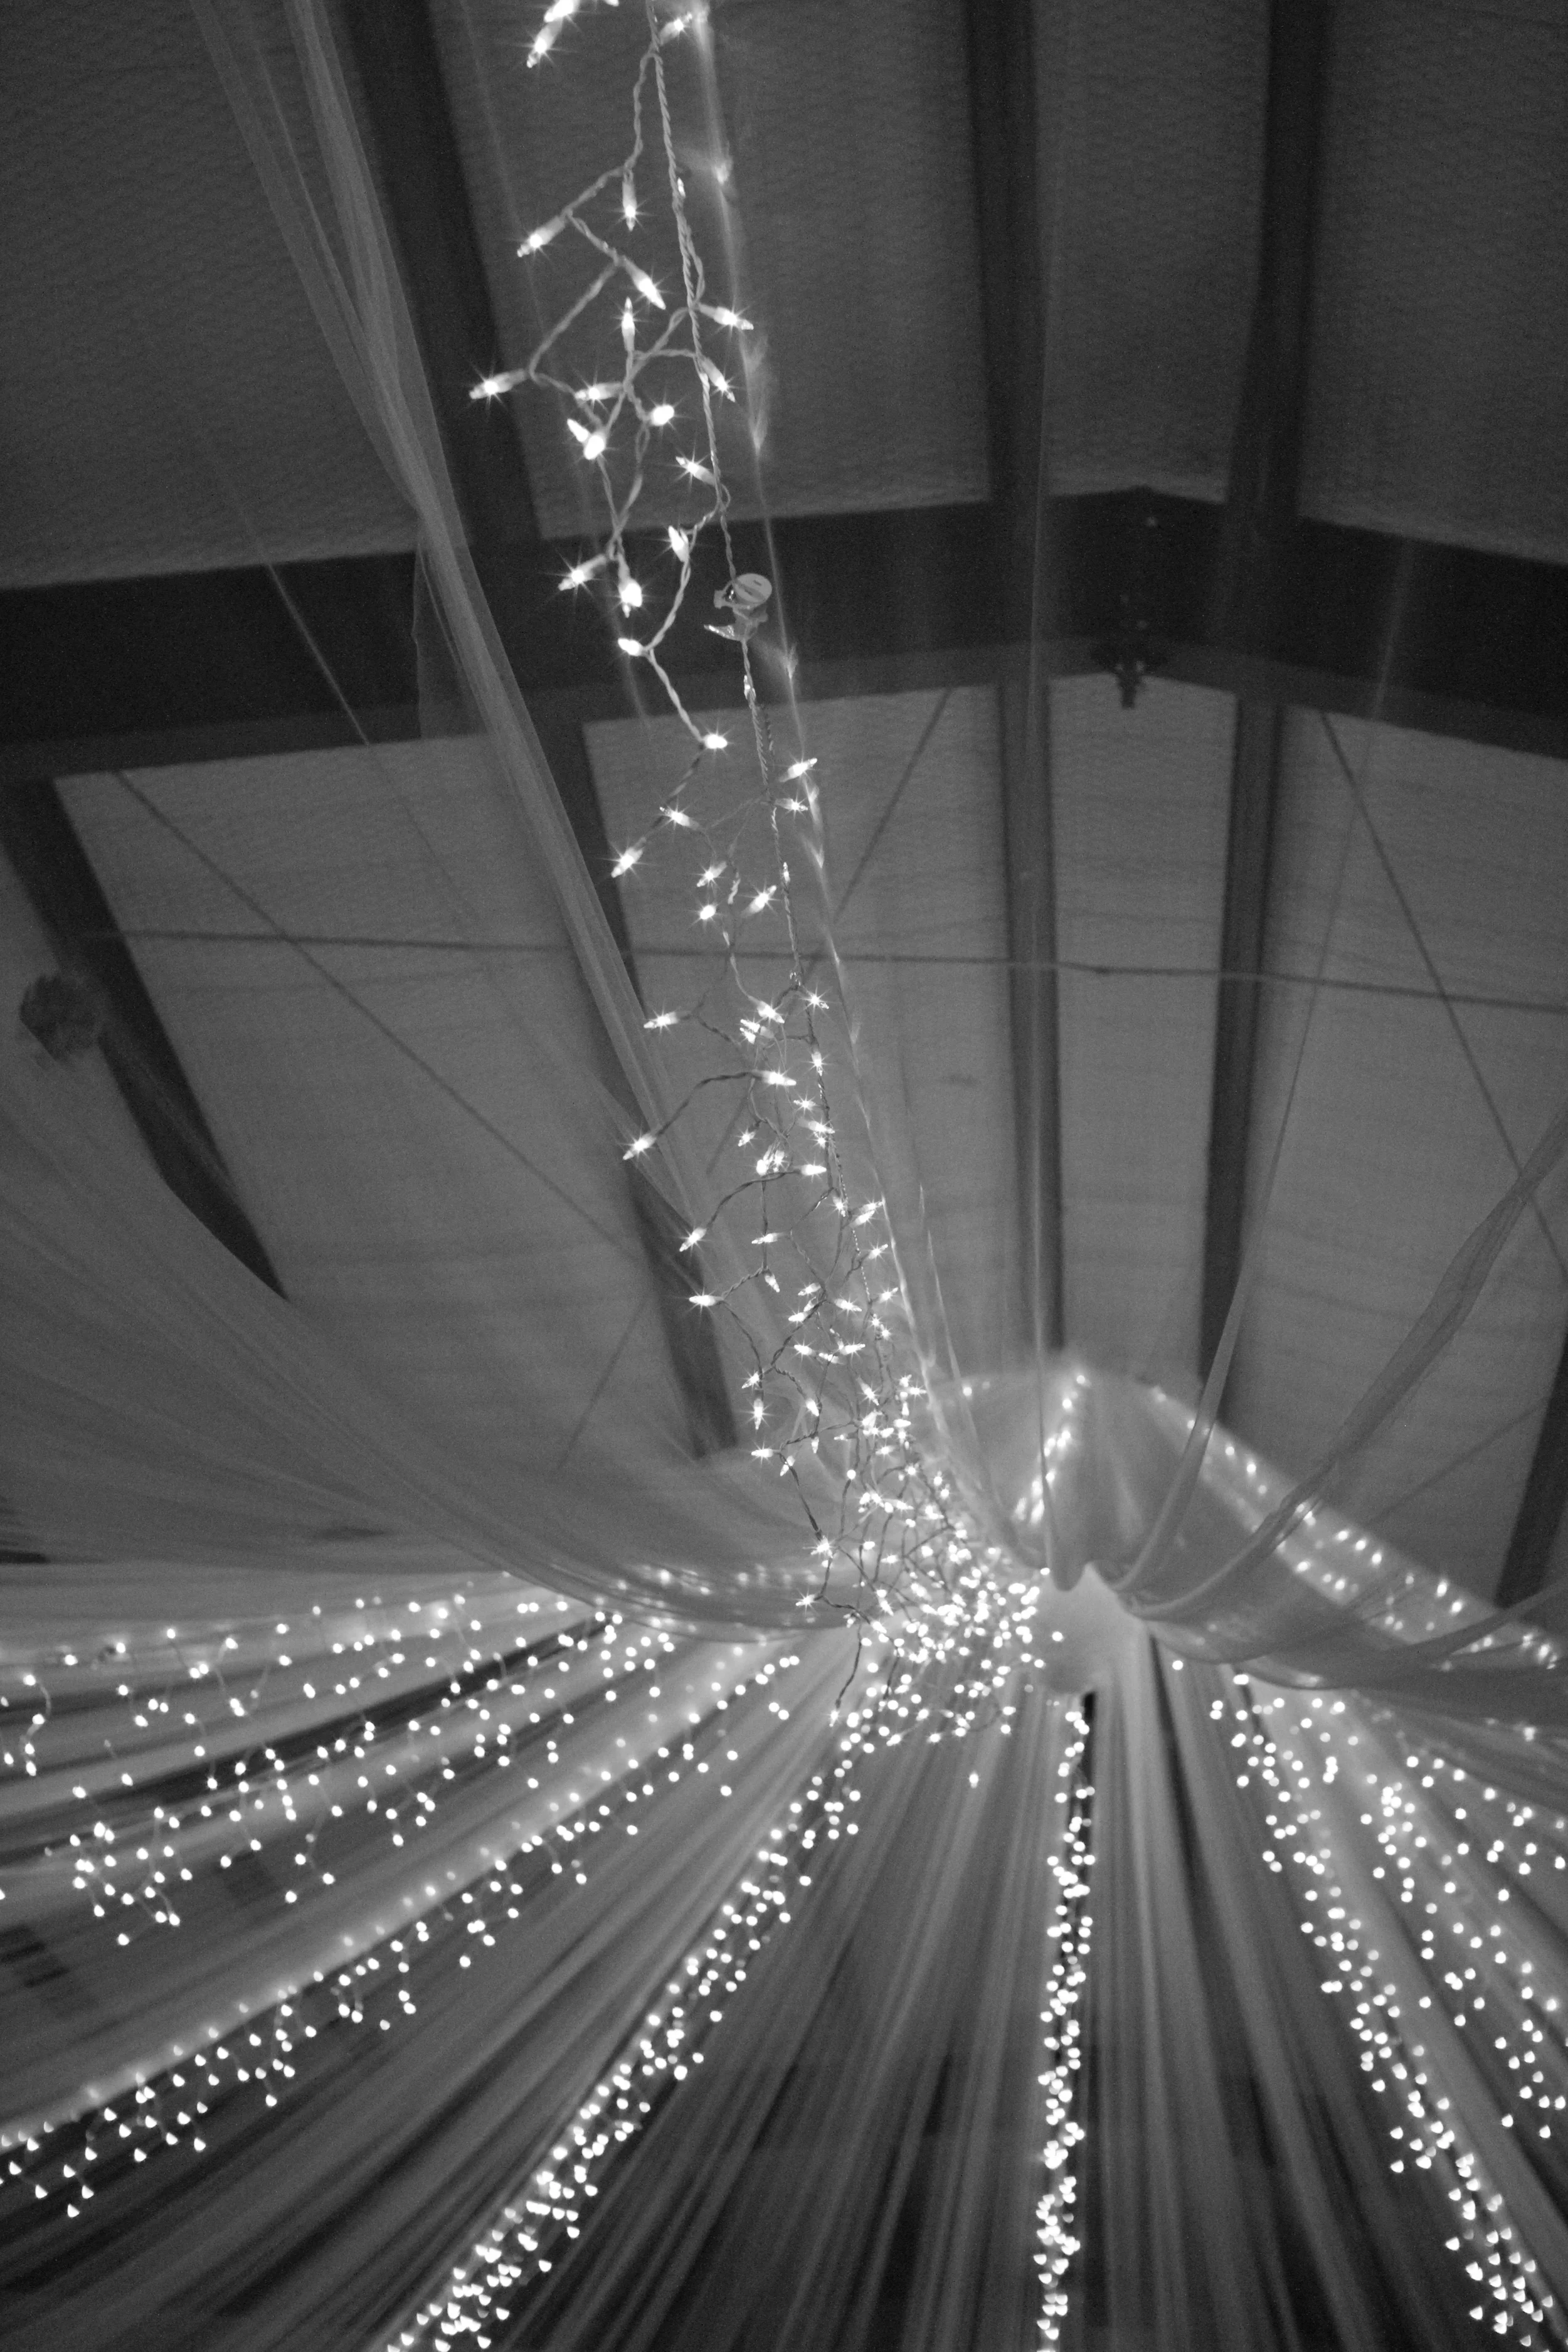
Image courtesy of Hillary Belknap Photography
This installation assumes you have pre-cut string lights with molded (built-in) plugs, so the connections are made end-to-end or from one male end plug to a female end plug. Due to the UL listings and the milliamps required to power incandescent string lights, a single end-to-end connection can only be made with a limited amount of string light sets. Read the packaging of your string lights to determine the maximum amount of connections (runs) that can be made. If in a stroke of genius, you decided to go box-free and invest in a storage reel, then the rule of thumb is a maximum of 3 sets for 22-gauge incandescent string lights or 6 sets end-to-end if using the thicker, more resilient 20-gauge wire.
Because of their extremely low wattage requirements, LED string lights have a significant advantage over traditional incandescent light strings. Again, you should check the packaging on your lights for specific ratings, but LEDs lights can conservatively be connected, end-to-end, 20 sets at a time. Some LED string lights are even rated for 100-set connections in a single run, drastically reducing the number of outlets you will need.
Spacing and Powering Your Lights
Since incandescent string lights have such limited runs, you are going to need an outlet every few feet to power your lights. To minimize the amount of cords hanging down your walls, consider installing outlets near your ceiling or using an extension cord that you can tuck out of the way for easier concealment. You can also purchase and mount a commercial light bar, which could include 12 or more grounded outlets per bar, spaced 6 inches apart. You can space your light strings as close or as far apart as you want, however, we recommend a general spacing of 6 to 12 inches to generate the intended effect. Whether your ceiling is peaked or not, you also need to be precise in your measurements, allowing for a bit of slack to create a pleasing drape with the lights as you move across the ceiling.

Keep in mind that all of your string lights should be the same length, bulb spacing, and preferably from the same manufacturer. Different string lengths may have wiring with different milliamp ratings, so don’t mix and match unless you want a ceiling full of burnt out bulbs. You should also take into consideration that each string has a lead length, a length of the wiring with no bulbs attached leading to a male or female ended plug. To minimize “dead spots” or areas with no lights as you make connections for your starry night, shorten the lead lengths by wrapping them into small bunches secured by twist ties, electrical tape, or zip ties.
Mounting Your Lights
Mounting your lights is simple: just use light clips. In particular, light clips with adhesive backings designed for your mini light strings will prevent unsightly holes in your drywall later. If you are creating an outdoor installation, multiple application clips will allow you hang from shingles, tile roofs, or gutters. The key mounting points are the crests of your draping and the wall edges. Never staple or nail the wires into place or you run the risk of splitting the wire and creating an electrical arc-fault, which is a fire hazard.
If you have more questions about installation, comments about what qualities make up a good “ladder buddy”, or suggestions for more DIY décor, write them in the comment area below. We also love to see lighting in action, submit your lighting project pictures to our Facebook, Twitter, LinkedIn, or Pinterest. Please contact our illustrious 1000Bulbs staff for more stellar advice at 1-800-624-4488, Monday through Friday, 7am to 7pm CST.


