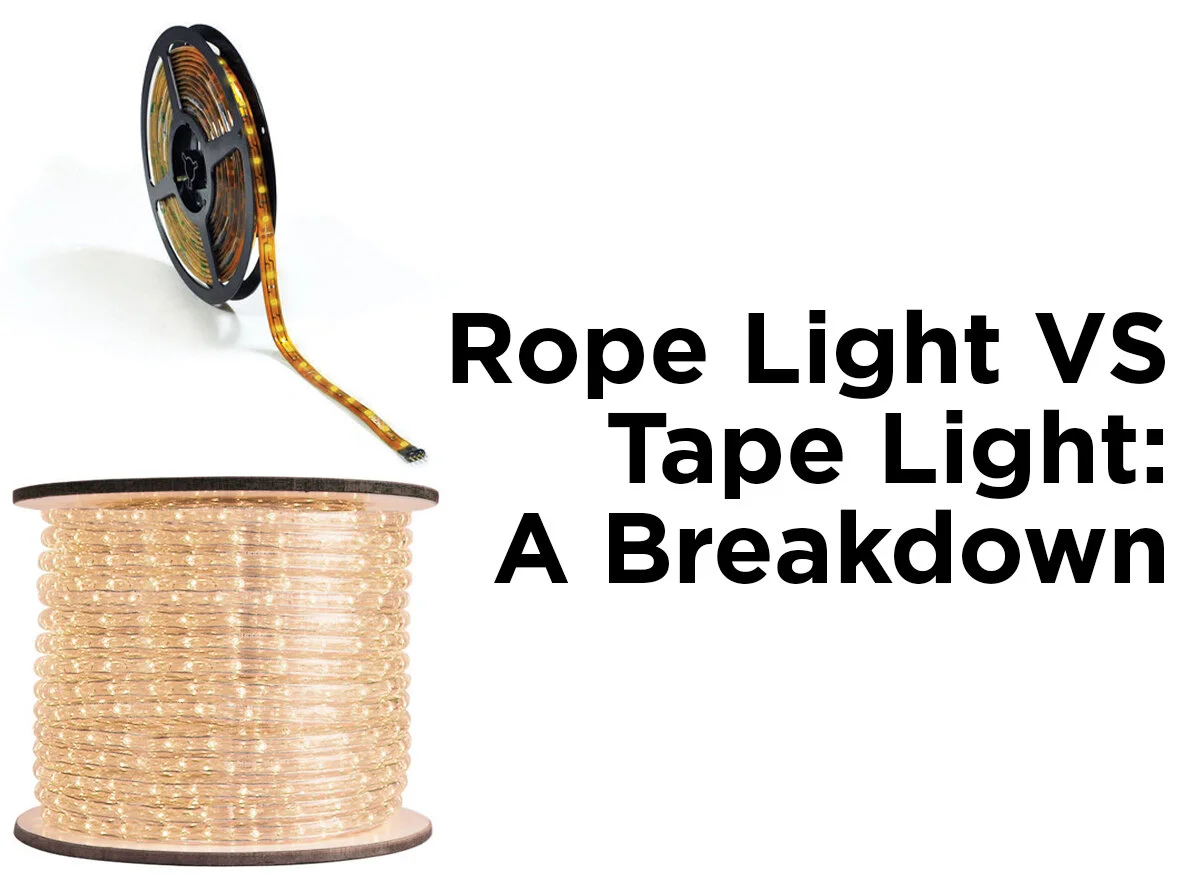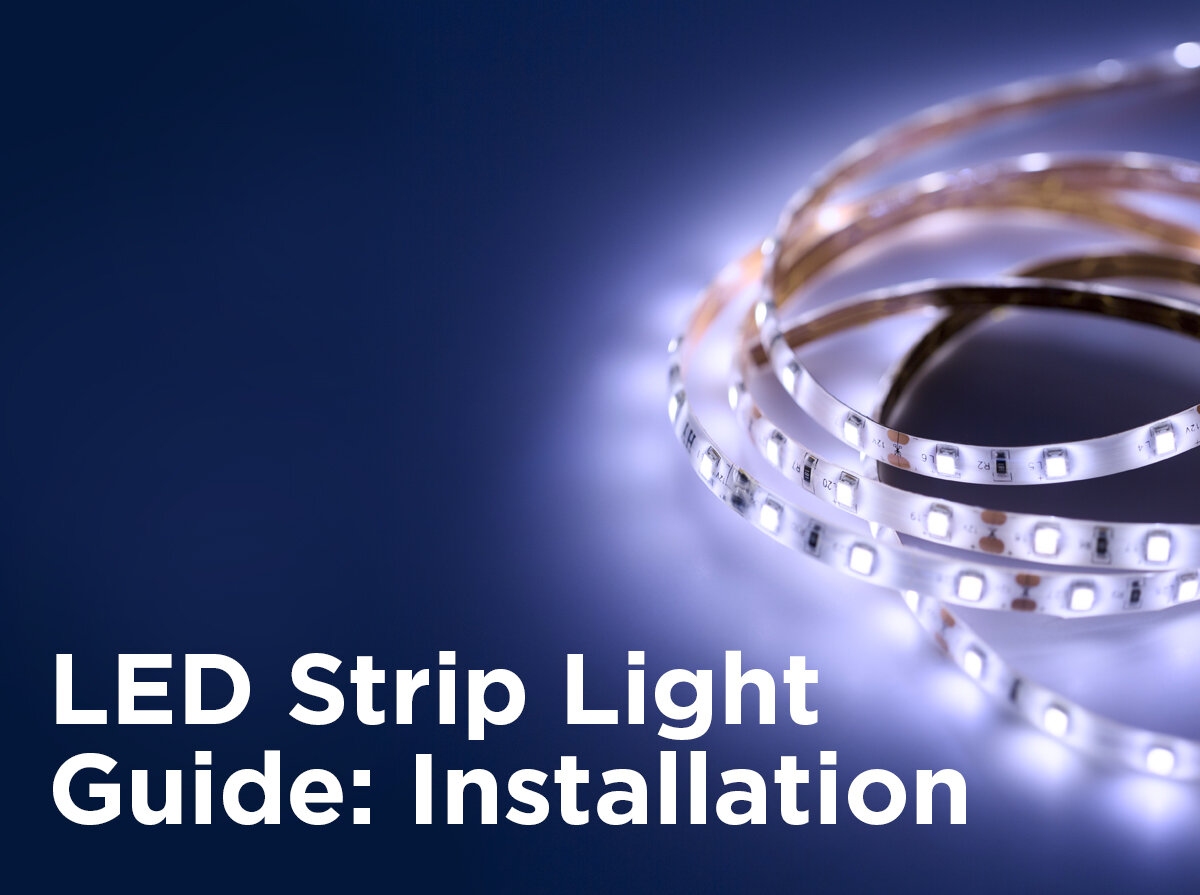
LED Strip Light Guide: Installation
So you’ve already read Part 1: Purchasing Considerations of our LED strip light guide. Or maybe you already knew what you needed to buy. Nonetheless, you’re ready to set up your LED strip light with Part 2: Installation. So let’s get started! As you probably already know, LED strip light is ideal for creating beautiful backlight accents and other artistic lighting effects. However, strip light is a bit more complicated to set up than regular light bulbs, requiring an array of unfamiliar parts. While setting up tape light may seem overwhelming at first, it’s actually quite simple once you understand all its components and their functions. Luckily, we’re here to break it down. Using the checklist below, you will be able to properly install your LED lighting arrangement, problem-free.
Part 2: LED Strip Light Installation
striplightchecklist
1. LED Strip Light (Tape Light) The most important part of your set up. Part 1 of our guide discusses what you need to know to purchase the right strip light for you.
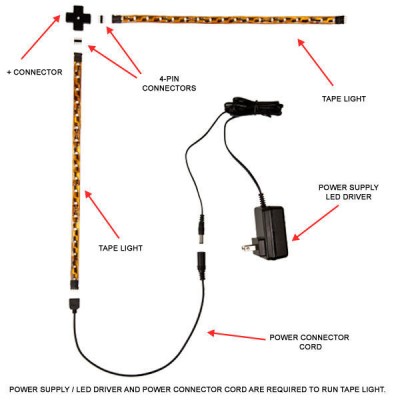
2. LED Driver / Power Supply Adaptor LED drivers (also called power supply adaptors) convert incoming voltage and current supplies to the amounts needed to operate your strip light. This was also previously mentioned in Part 1 when we discussed strip light runs. Your power supply must supply a wattage that is 20% more than what you need to operate your LED strip light run. Max runs should be specified on your strip light's packaging or data sheet.
3. Power Connector Cord Power connector cords connect your LED driver to the strip light. You cannot connect your strip light directly to the driver. Pay attention to length, voltage compatibility, and whether or not the cord can be used with RGB strip light when purchasing a power connector cord.
4. 4-Pin Connectors

A "+" connector being attached to two strips of LED light with 4-pin connectors
4-pin connectors are tiny connector pieces that have four prongs on either side. They are used to fasten together two sections of strip light in a variety of combinations. They can join the ends of two strip lights directly (for best results, seal the connection with shrink wrap tubing), or they can join your strip light to another connector that will allow you to change the direction of your next section of strip light. To use 4-pin connectors, simply push them into the ends of your light strip. However, it is important to note that if you cut your strip light, you can no longer use a 4-pin connector to add another strip to it. Instead, you must seal the cut end with an end cap.
5. Connectors Connectors come in a variety of shapes, from “+” to “T” to “L.”As previously discussed, connectors are used to change the direction of your strip light. You need a 4-pin connector between each end of a connector and a section of strip light to properly join them.
6. End Caps
After you have reached the desired length of your strip light, you can cut it and seal with an end cap. As we said earlier, you can no longer connect strip light to an additional strip of light once it has been cut. Be sure to cut strip light ONLY across the cut lines that are marked on the strip light. To ensure the end cap can't be removed, attach it to the end of your light with silicon glue.
Now you know all the parts you need to install your strip light. To see assembly in action, check out our short DIY video!
While these components are necessary for a basic strip light design, there are still many ways to further enhance and personalize your installation. For example, if you want to skip places where strip light isn’t needed such as between two sections of cabinets, you could use interconnection cables (which come in varying lengths) in place of the standard connectors. Or you could always add a dimmer switch so long as you make sure to purchase one in the correct wattage and to connect it properly between the driver and power connector cord. RGB strip light set-ups can be a little more complicated—we will cover those in a future post.
Next week, look forward to the final section of our strip light guide, Part 3: Troubleshooting. Are you left with any lingering questions about your strip light set-up? Tell us in the comments or on Facebook, Twitter, LinkedIn, Instagram, or Pinterest!