
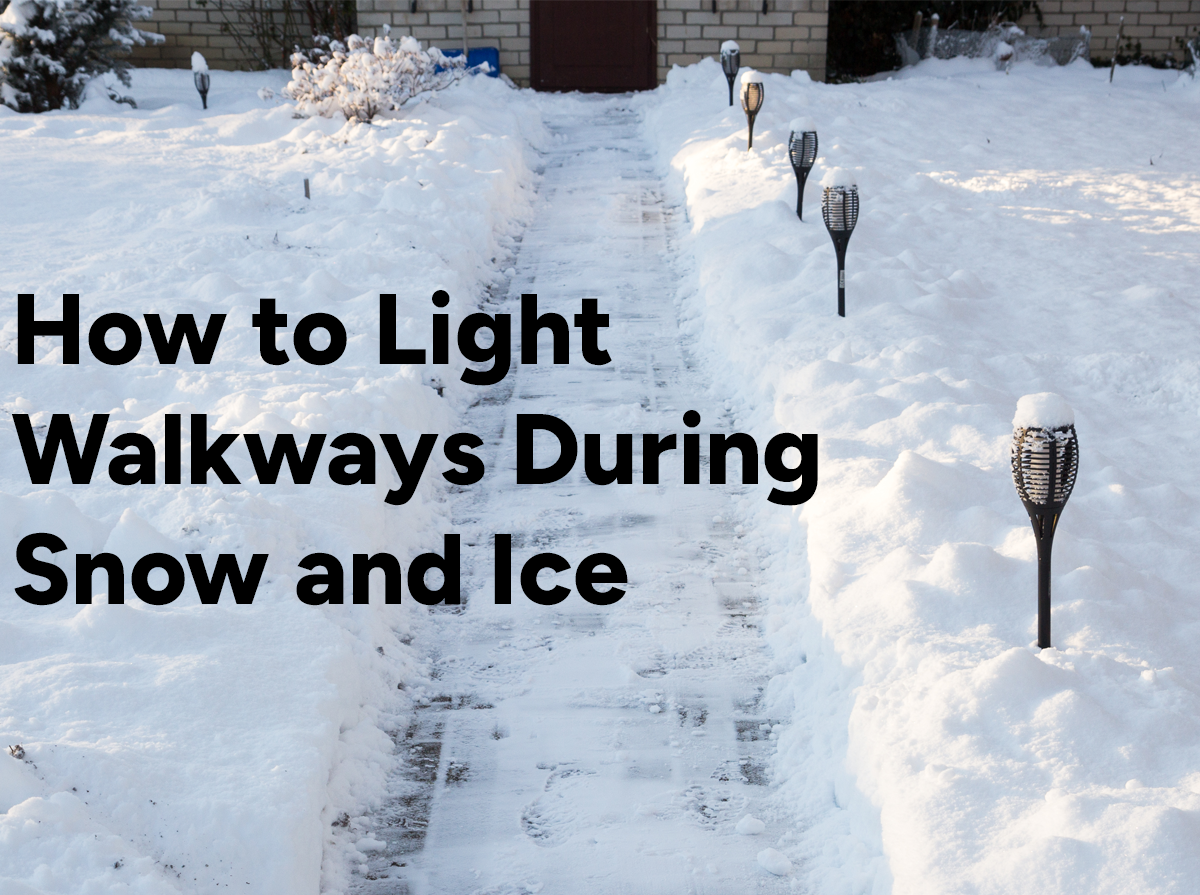
How to Light Walkways During Snow and Ice
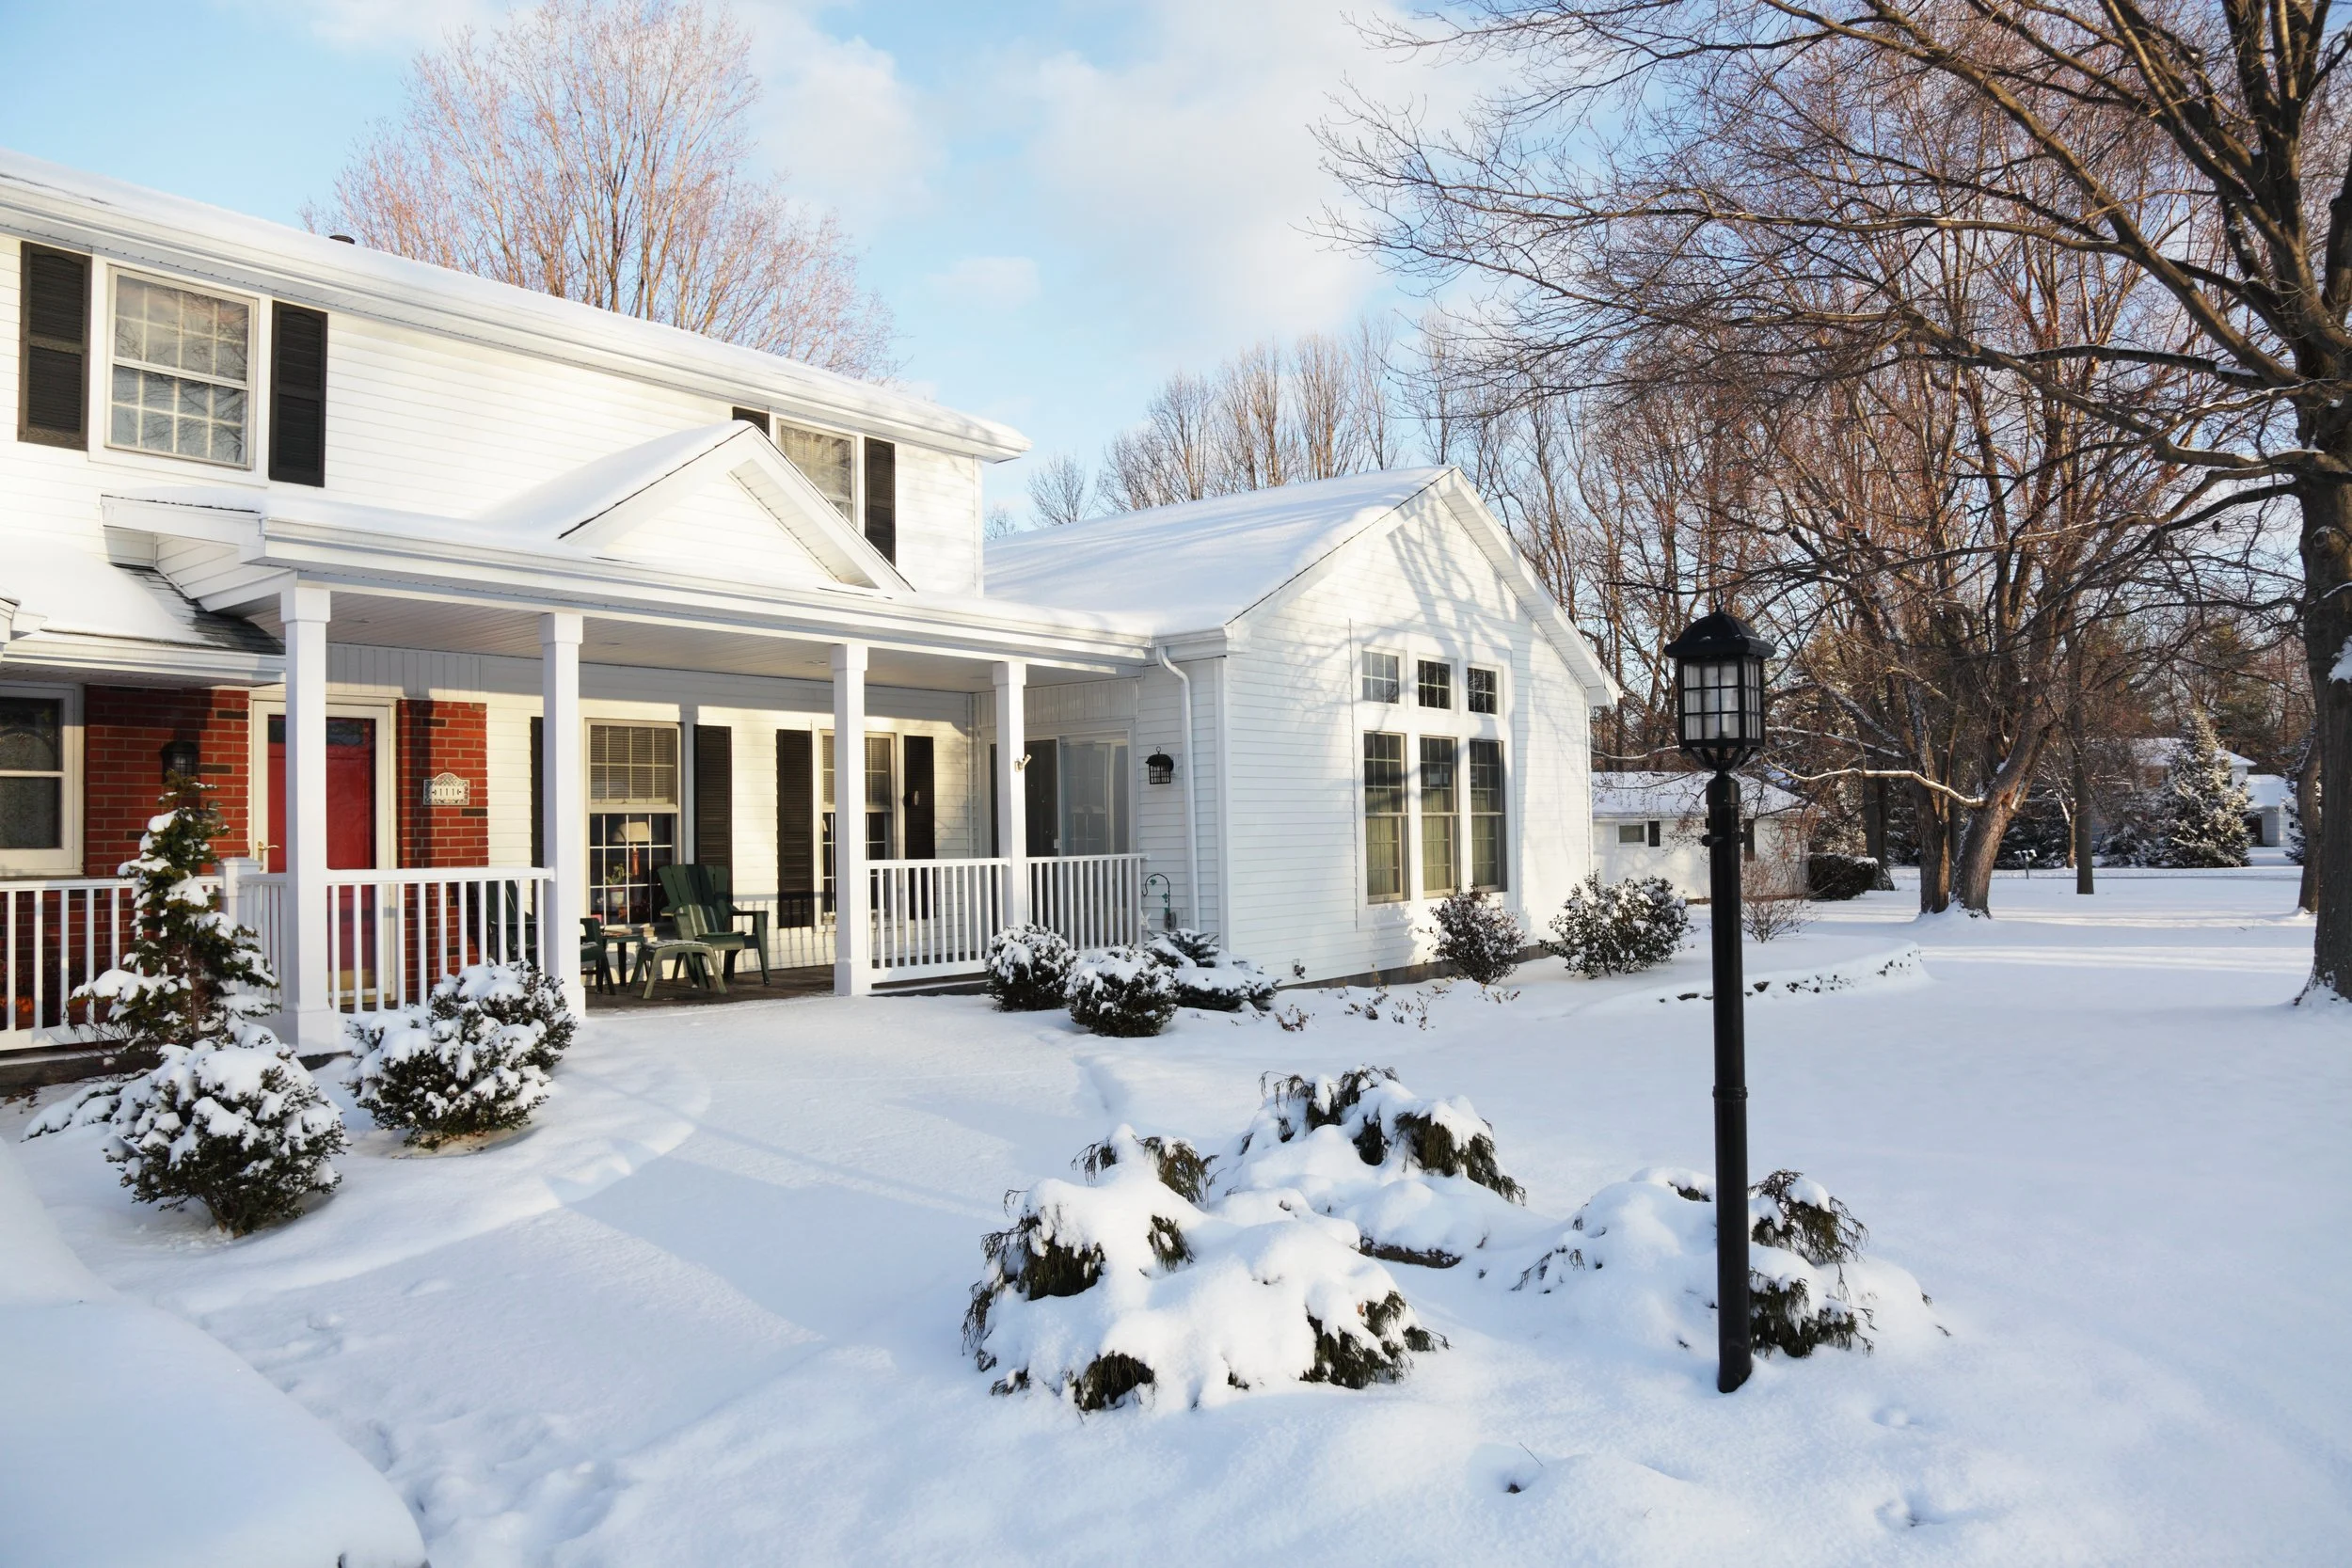
A well-lit walkway in July can become nearly useless by January. Snow buries fixtures, ice obscures lenses, and the bright white ground throws light back in your face instead of letting it illuminate the path ahead.
Winter walkway lighting requires different thinking than warm-weather installations. This guide covers fixture selection, placement strategies that account for snow removal, weather ratings that actually matter, and maintenance practices that keep your lights working when you need them most.
Why Walkway Lighting Matters More in Winter
Winter walkway lighting comes down to three things: waterproof fixtures, clear physical markers near vulnerable equipment, and careful snow removal that protects both the path and the lights. When you get all three right, you end up with paths that stay visible and fixtures that last through the season.
Shorter days push more foot traffic into after-dark hours. In cities like Chicago, sunset arrives before 4:30 p.m. by December, so you might be walking to your car, checking the mail, or taking out the trash in complete darkness. Good lighting reveals where the path edges are, where steps change elevation, and where ice tends to form. The CDC reports that one in four older adults fall annually, and winter conditions make these hazards especially dangerous. Snow and ice obscure surface details that would be obvious in daylight, so consistent visibility matters more than raw brightness.
Here's the thing, though: lighting helps you see the path, but it doesn't melt ice or clear snow. Transparent black ice often stays invisible regardless of how much light you add. Think of walkway lighting as a partner to your snow removal routine, not a replacement for it.
How Snow and Ice Affect Outdoor Lighting
Snow creates problems you might not expect until you're dealing with them mid-January.
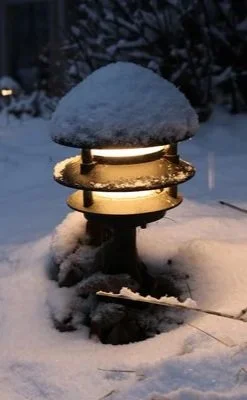
Burial and blockage: Drifts and snowbanks from shoveling can swallow low fixtures entirely. A path light that sits 18 inches above grade might disappear behind a plowed pile within hours of a storm. Even partial coverage cuts useful light output dramatically.
Moisture intrusion: Ice buildup obscures lenses, and if seals are damaged or the fixture isn't rated for wet locations, moisture can work its way inside the housing. Over time, this leads to corrosion and electrical problems.
Glare from reflection: Bright snow bounces light back at you. What looks comfortable on bare pavement in October can feel harsh and uncomfortable once snow covers the ground. You might find yourself squinting on your own walkway.
One detail people often miss: snowbanks created by clearing frequently exceed natural snowfall depth. Your plow guy pushes snow to the side, and suddenly you've got a two-foot wall where your path lights used to be.
Why LEDs Are a Practical Choice for Cold Weather
LED light bulbs handle cold weather well. Unlike some older lighting technologies that are slow to start in cold temperatures, they reach full brightness the moment you flip the switch, which matters when you step outside on a dark winter evening and want to see where you're going immediately.
According to the U.S. Department of Energy, LEDs actually become more efficient as temperatures drop because heat is the primary factor that shortens LED life. Cold air acts as a natural heat sink, which can extend fixture lifespan in winter climates.
That said, "LED" alone doesn't guarantee winter suitability. Every fixture, driver, and control has a minimum operating temperature rating. A fixture rated to 32°F won't perform reliably in Minnesota during January. If you live somewhere that regularly sees subzero temperatures, look for products rated to at least -20°F or lower. Check the specs on any batteries or smart controls too, since those often have narrower temperature ranges than the fixtures themselves.
One common misconception worth clearing up: LEDs don't generate enough heat to melt accumulated snow off their lenses. You'll still need to clear fixtures manually after storms.
Fixture Types for Snowy Walkways
Different fixture styles work better in different spots. Each has trade-offs worth thinking through before winter arrives.
Path Lights and Bollards
Post-style path lights and bollards line walkway edges and direct light downward onto the walking surface. For snowy climates, height matters. A 24-inch path light works fine in mild winters but may vanish under drifts in heavier snow regions.
When you're shopping, think about where snow gets pushed during clearing. If your path lights sit right at the edge where the plow deposits snow, you'll spend the winter digging them out or losing their light entirely.
Step and Riser Lights
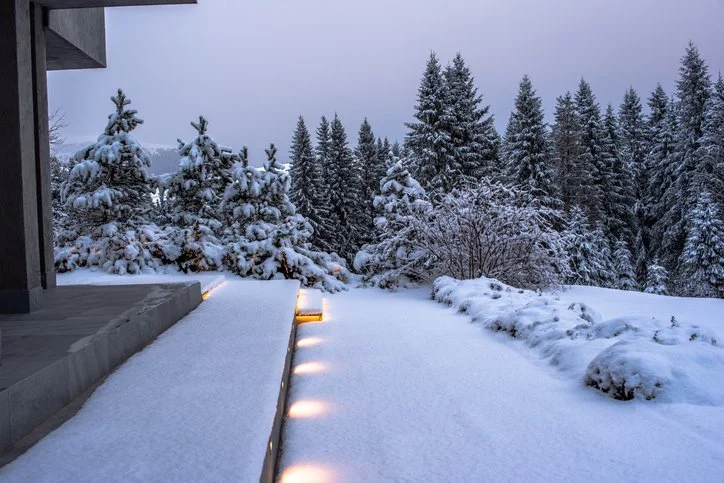
Steps are where people fall. Recessed or surface-mounted step lights illuminate treads and risers so you can see elevation changes clearly. Position them to light the walking surface without shining directly into approaching eyes. When comparing landscape lighting, look for step fixtures rated for wet locations, and check that their operating temperature range covers your local winter lows.
Keep in mind that snow-covered steps still require clearing. The light helps you see where to place your feet, but it won't tell you whether ice is hiding under a thin layer of powder.
Wall-Mounted and Post-Top Fixtures
Elevated fixtures mounted on walls or posts work well near entrances and along paths that run close to buildings. Their height keeps them above snow accumulation, which means less maintenance and more consistent light output through the season.
Check that the fixture directs light downward with adequate shielding. A bright, unshielded light at eye level creates glare for people approaching, which defeats the purpose.
Floodlights and Spotlights
Floodlights cover broader areas while spotlights concentrate light on specific zones. For walkways, choose optics that distribute light evenly across the path width. A narrow spot aimed at one section leaves dark gaps elsewhere, and those dark gaps are exactly where someone might slip. For a broader beam, look for LED flood light fixtures with a beam spread suited to your path. Choose fixtures rated for wet locations, confirm their operating temperature range covers your local winter lows, and aim them across the path without shining into approaching eyes.
| Fixture Type | Best Application | Winter Consideration |
|---|---|---|
| Path Lights/Bollards | Walkway edges | Select height above expected snowbanks |
| Step Lights | Stairs and landings | Clear snow from treads and lenses regularly |
| Wall/Post Fixtures | Entrances and building-adjacent paths | Control glare through aiming and shielding |
| Floodlights/Spotlights | Wider areas or targeted coverage | Match beam distribution to path width |
Choose Color Temperature and Brightness for Snow
Color temperature, measured in Kelvin (K), describes how warm or cool white light appears. Lower numbers like 2700K–3000K produce warm, yellowish light similar to incandescent bulbs. Higher numbers like 3500K–4000K appear more neutral or slightly cool.
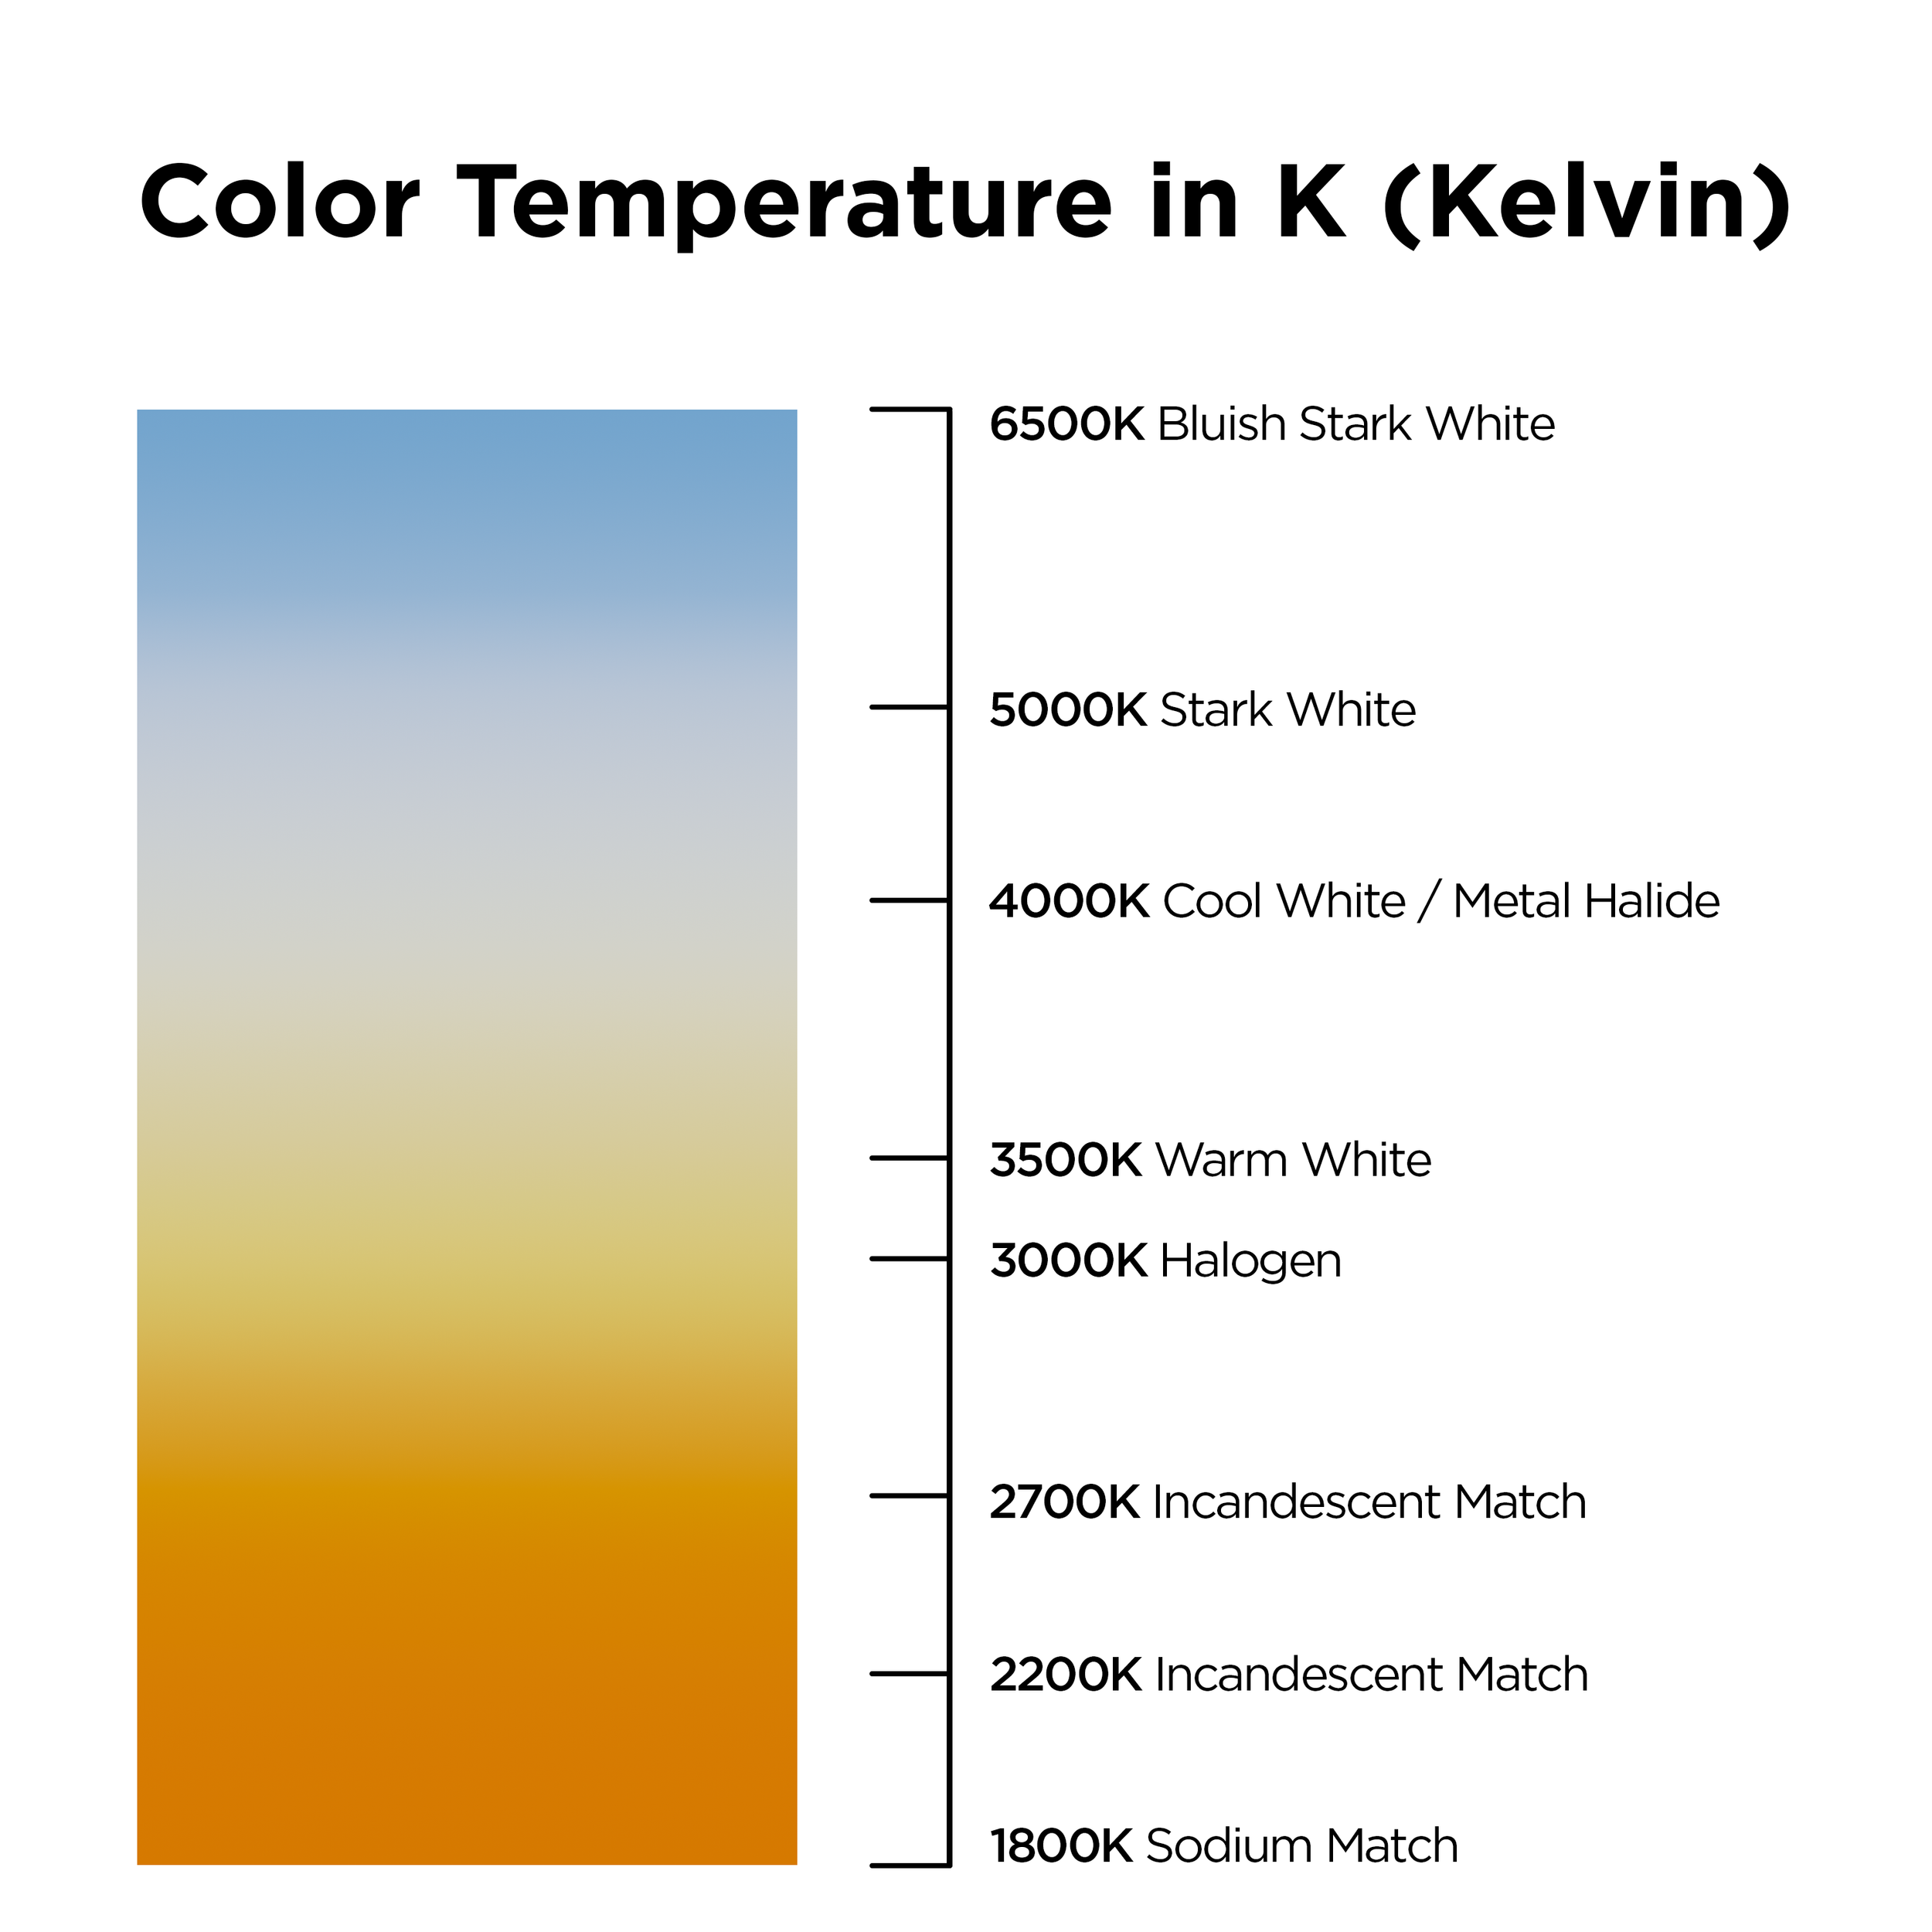
Neither warm nor cool light automatically reveals hazards better than the other. Choose based on the look you prefer and how the light interacts with your specific environment. Some people find warm light more inviting; others prefer the crispness of neutral white.
Lumens measure how much light a fixture produces, but lumens alone don't tell you how well a walkway will be lit. The fixture's optics, mounting height, spacing, and the reflectivity of surrounding surfaces all affect how much light actually reaches the walking surface. A 500-lumen fixture mounted at the right height with good optics might outperform a 1000-lumen fixture that's poorly aimed.
Tip: Walk your route after installation with both snow-covered and bare surfaces to check for dark spots and glare. What works in October may need adjustment by February.
How to Position Walkway Lights for Winter
Placement decisions made before winter determine whether your lighting stays useful once snow arrives. Work through the following steps before the ground freezes.
Step 1. Map the Path and Identify Trouble Spots
Walk the entire route and note stairs, turns, uneven areas, drainage problems, and entrances. Mark where snow gets stored after clearing and where maintenance equipment needs access. If you have a spot that always ices over because of poor drainage, address that separately. Lighting won't fix a drainage problem.
Step 2. Space Fixtures for Even Coverage
Use the manufacturer's distribution information to plan coverage. The goal is continuous, even illumination without isolated bright pools separated by dark gaps. Pay extra attention to corners and elevation changes, where shadows tend to form.
Avoid relying on a single spacing rule for every fixture. A 6-foot spacing might work for one product and leave dark zones with another. Check for glare from both directions of travel, since a fixture that looks fine when you're walking toward the house might blind you on the way back.
Step 3. Position Light Sources Above Expected Accumulation
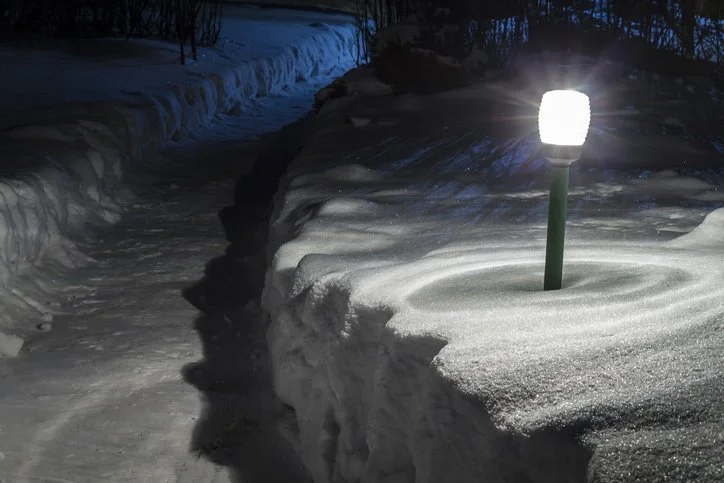
Choose fixture heights and setbacks based on realistic snow depths, including drifts and plowed piles. A fixture that sits just above average snowfall may still get buried after clearing pushes snow to the side.
Use manufacturer-approved mounts. Improvising taller stakes can compromise stability and create wiring problems. Where ground-level fixtures would be buried, consider elevated wall-mounted lighting instead.
Step 4. Add Suitable Controls
Timers and photocells coordinate operation with darkness so lights come on when needed without manual intervention. Motion sensing can supplement baseline lighting, though you'll want to confirm detection happens before someone enters the route, not after they're already walking in the dark.
For shared walkways or designated exit routes, maintain required illumination levels continuously rather than relying solely on motion activation. Check that any controls you add are rated for your expected temperature range.
Protect Fixtures During Snow Removal
Snow removal equipment can damage fixtures quickly. A few precautions help prevent costly repairs.
Use Reflective Markers Where Appropriate
Place tall, reflective driveway markers or wooden stakes a few inches from vulnerable fixtures before the first snowfall. Coordinate with anyone who clears snow so they know where fixtures are located. Keep markers outside walking routes and equipment clearance areas so they don't become trip hazards themselves.
Evaluate Recessed and In-Ground Fixtures Carefully
Flush-mounted fixtures reduce protrusion but don't guarantee protection from plow blades or shovels. Snow may also block their output entirely. Check drainage and load ratings before installing in-ground fixtures in high-traffic clearing zones. In-ground lights work better as supplemental lighting than as your only winter illumination.
Remove Seasonal Stake Lights Without Losing Coverage
Decorative stake lights and seasonal landscape fixtures designed for mild weather may not survive winter. Remove them before damage occurs, following disconnection and storage instructions. Before removing any lights that illuminate the path, make sure you have suitable replacement coverage in place so you're not left with a dark walkway.
Check Water, Temperature, and Salt Resistance
IP ratings describe ingress protection against dust and water. IP65 addresses dust and water jets. IP66 handles more powerful jets. IP67 covers dust and temporary immersion under specific test conditions.
However, an IP rating alone doesn't establish resistance to salt, freezing, or impact. Check wet-location suitability, operating temperature range, and installation instructions separately. If you use de-icing chemicals, verify the manufacturer documents resistance to expected exposure. Salt and chemical de-icers can corrode metal housings and damage electronic components over time.
Include connectors and drivers in your assessment. A fixture rated for wet locations connected with unprotected wire nuts may still fail when moisture reaches the connection point.
Winter Maintenance Checklist for Walkway Lighting
Regular checks keep your lighting functional through the season.
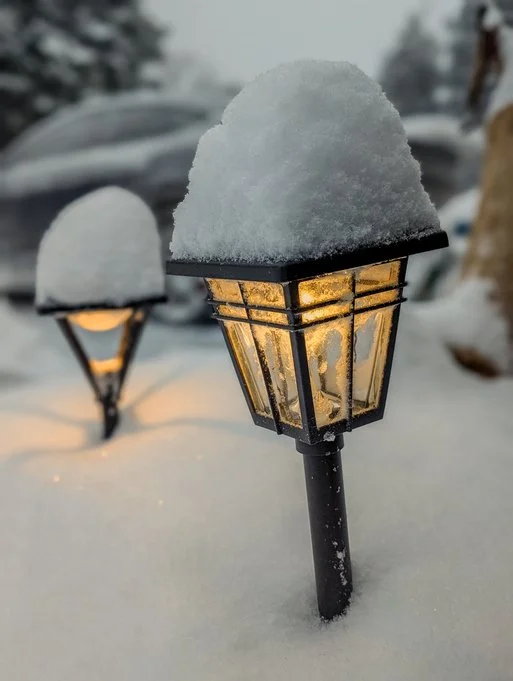
Clear Accumulation Without Damaging Lenses
Gently remove loose snow using a soft broom or brush. Avoid metal scrapers, forced ice removal, or hot water, which can crack cold lenses. Don't apply de-icer directly to fixtures unless the manufacturer specifically permits it.
Inspect Fixtures, Wiring, and Connections
Look for displaced fixtures, cracks, corrosion, and damaged exposed wiring after storms and throughout the season. Disconnect power before servicing any fixture. Refer electrical faults or persistent water intrusion to a qualified electrician rather than attempting repairs yourself.
Address Dimming, Flicker, and Failed Components
Investigate symptoms before assuming a driver or fixture has failed. Loose connections, moisture, and incompatible controls can all cause similar problems. Replace only compatible, serviceable components. If outages on your walkway would create safety concerns, keep replacement bulbs on hand so you can restore lighting quickly.
Find Winter-Ready Walkway Lighting at 1000Bulbs.com
1000Bulbs.com stocks outdoor lighting fixtures and solar and landscape lighting suitable for cold-weather applications. If you have questions about temperature ratings, IP specifications, or fixture selection for your specific conditions, contact a Lighting Specialist at 1-800-624-4488 for guidance.
Frequently Asked Questions About Winter Walkway Lighting
Do solar path lights work in snowy climates?
Solar path lights depend on adequate winter sunlight, clear panels, and batteries rated for cold temperatures. Snow-covered panels can't charge, and short winter days reduce charging time even when panels are clear. Wired systems avoid solar-charging limitations but still require fixtures rated for your climate.
How many lumens do winter walkway lights need?
No universal lumen number works for every situation. Output, optics, mounting height, spacing, and surface conditions all determine whether illumination is adequate. Test your specific setup rather than relying on a single specification.
Can I install walkway lights in frozen ground?
Frozen ground makes installation difficult and risks damaging stakes and wiring. Plan groundwork before freezing where possible. If you missed that window, consider temporary above-ground or wall-mounted alternatives until spring.
Can de-icing salt damage landscape lights?
Salt can corrode metal housings and damage electronic components over time. Follow the manufacturer's cleaning instructions. Avoid rinsing fixtures in ways that create new ice on the walkway.
Does warm white light prevent glare on snow?
Warm white light doesn't prevent glare. Shielding, brightness level, placement, and viewing angle matter more than color temperature when controlling discomfort from snow reflection.
Will LED path lights melt snow off their lenses?
LED fixtures don't generate enough heat to reliably clear accumulated snow. Maintain lens clearance manually according to the product's instructions.