


Recessed Specs for Success

There is something so satisfying and soothing about symmetrical patterns. A perfectly decorated dining table featuring a centerpiece flanked by equally spaced place settings invites guests to feast with serenity. Columns on either side of a two-story, stacked-stone fireplace impart a feeling of stillness and strength. Planting trees equidistant along a road or pathway brings a sense of tranquility as you enter the destination. Symmetry may seem simple because of the way it makes us feel at ease, but achieving it involves some correct calculations.
In interior space planning, whether in homes or businesses, so much goes into making the occupants feel comfortable. Much of that lies in creating symmetry with architecture, furniture selections and placements, and, of course, lighting. Unlike furniture which can be easily rearranged, recessed lights are cut into the ceiling, and once placed, are difficult and costly to move. There is an old contractor saying that is often repeated and is applicable in the case of installing recessed lights . . . measure twice, cut once. Let’s go over the measurements and considerations that will make your recessed lighting a success!
The height of the ceiling is the most important measurement. It will determine how far apart the recessed cans should be, and that will in turn define how many lights you need in a space. The recommendation is to take the ceiling height and divide it by two—that will be the distance between fixtures. If your celling height is 8 feet, cans should be placed 4 feet apart. If the ceiling height is 10 feet, cans should be placed 5 feet apart. And so on. If you’ve got a square or rectangular room, you’ll just need to incorporate one more measure before making your placement grid. It is suggested that cans are placed 3 feet from surrounding walls to minimize shadows in corners and supply ample, even lighting. Once you’ve identified that first intersection, the rest of the marking and planning should go easily.
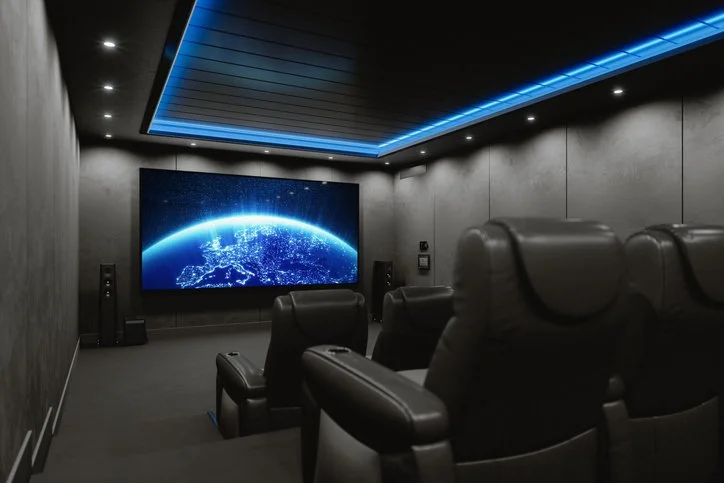
However, we all know that today’s environments aren’t always simple . . . vaulted or sloped ceilings can present somewhat of a challenge, but usually the measurements are the same. Just be sure to use the proper housings and trims for such applications. Large screen or projection TVs may require splitting the room into two (or more) different zones of lighting controlled separately. That way, you can dim or switch off lights right in front of the TV to reduce glare without sacrificing light for the rest of the room.
If you have a ceiling fan installed or plan to install one after the recessed lights, added measurements are needed to avoid a strobe-light effect from the moving fan blades. In your grid placement, ensure that surrounding can light fixtures are placed a minimum of three inches from the tips of the fan blades. If the ceiling fan has its own light kit, you may want to increase that distance even more, depending on how much light you want in that space.
Of course, there are exceptions to every rule. If you are installing recessed lights to highlight a particular focal point or as task lighting over a high-use area, exact symmetry may not be called for. In these more challenging layouts, it might be best to call in an interior designer or lighting professional or reach out to one of our experienced technicians who are available to help with your recessed specs! Call 1-800-624-4488 or try our convenient pop-up chat feature at the bottom right corner of our web pages.


