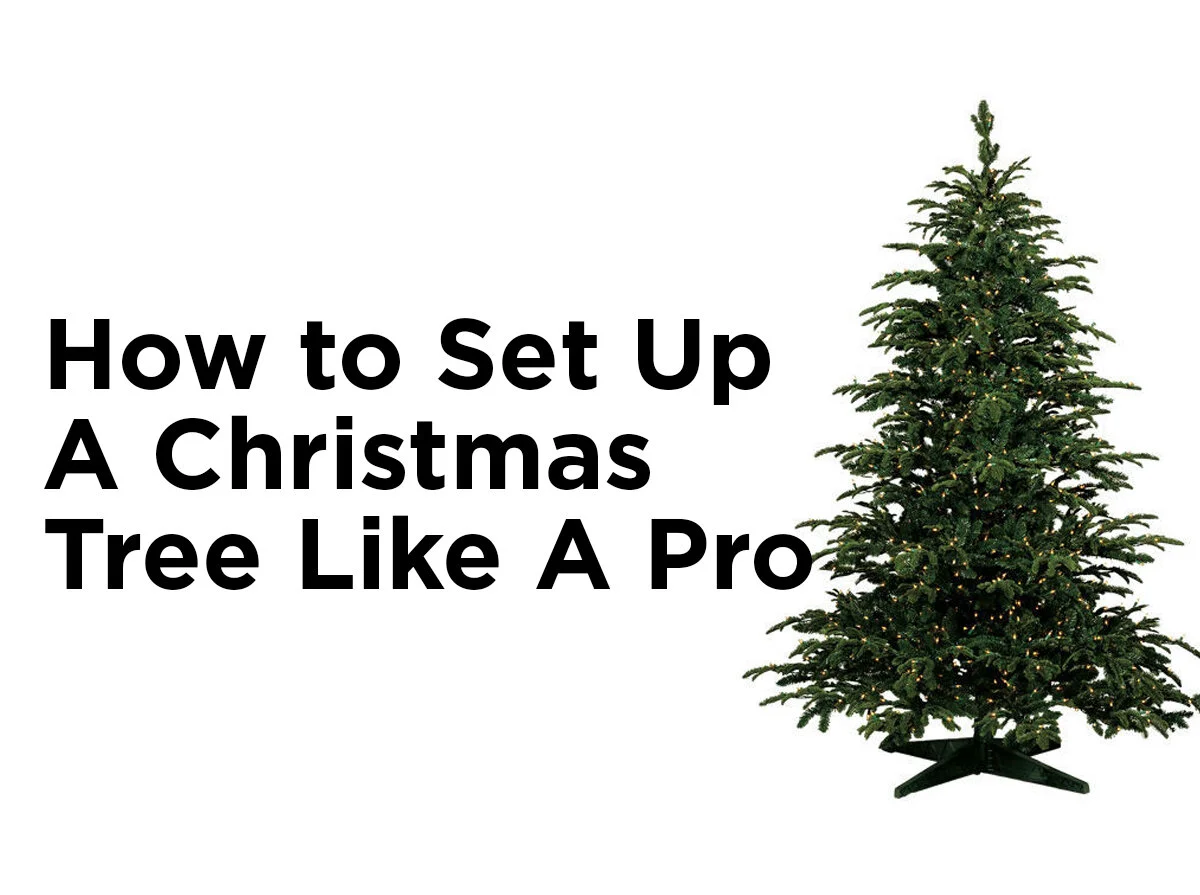
How to Set Up a Christmas Tree Like a Pro
You've set up your Christmas tree and gathered the family around, Clark Griswold-style. You plug in the lights and voilà! A second goes by before you hear a collective groan. Your tree is so gnarled and lopsided it looks like it's being slowly eaten away by moths. Half of the lights don't work, and the other half only flicker. In short, your Christmas tree doesn't look anything like the picture on the box.
Professional interior designers know setting up an artificial Christmas tree isn't as easy as it looks. They know just how to adjust, test, and tweak until a Christmas tree looks bright and full, virtually oozing holiday cheer. Fortunately, you can do the same. Use these 4 professional tips for a problem-free tree this year!
Tip #1: Set Up the Stand the Right Way
First, set up your tree stand. Though this may not require the touch of an interior designer, it is literally the foundation to everything that comes after.
For two-piece steel or plastic stands, simply slide the two pieces together and apply slight pressure to the center hub until it clicks. For one-piece fold-up stands, open the legs to their locking position and tighten the bottom thumbscrew to secure. If you have a one-piece stand, no assembly is required.
If your stand is wobbly or flimsy, throw it away and get a real Christmas tree stand made with sturdy materials, superior craftsmanship, and wheels to make the tree easier to move and store.
Tip# 2: Assemble the Tree Once Piece at a Time
Second, assemble the tree, taking time to adjust and level as you do so. Patience is key.
Insert the bottom section of the tree into the stand. Secure the tree by tightening the thumbscrews and allow the hinged branches to fall into their natural, horizontal position.
If you have a multi-section tree, add the other sections, taking care to lubricate the pole ends for easy insertion and removal at the end of the holiday season.
Tip #3: Shape the Tree Like a Pro
There are two basic ways to shape a tree: The traditional "V" shape and the "upswept" shape.
For a traditional shape, separate all the small limbs from the main branch, then work from the trunk outward, moving one limb up and one limb down, forming a "V" shape. Also form a "V" with the second set of limbs, but instead of up and down, angle one to the left and one to the right.
For an upswept tree shape, simply angle the limbs outward and upward, as if wind were blowing from the bottom of the tree.
Tip #4: Test Lights and Apply them Section-by-Section
Unless you have a pre-lit Christmas tree, the next step is to add your Christmas lights. Before you start, however, plug in each set of lights to make sure they work. Test for burned out bulbs and partially dead strings with a light tester and avoid the hassle and embarrassment of having to redecorate your tree halfway through Christmas dinner.
Now start lighting the tree, but not all at once. Make sure your tree is evenly lighted by hanging lights section-by-section and making corrections as you go.
Share Your Ideas
For more Christmas tips and tricks, check out previous articles on how to buy a Christmas tree, how to select mini lights, and how to throw a non-traditional Christmas celebration. Share your own tips in the comments, or follow us on Facebook, Twitter, YouTube, and Pinterest.


