
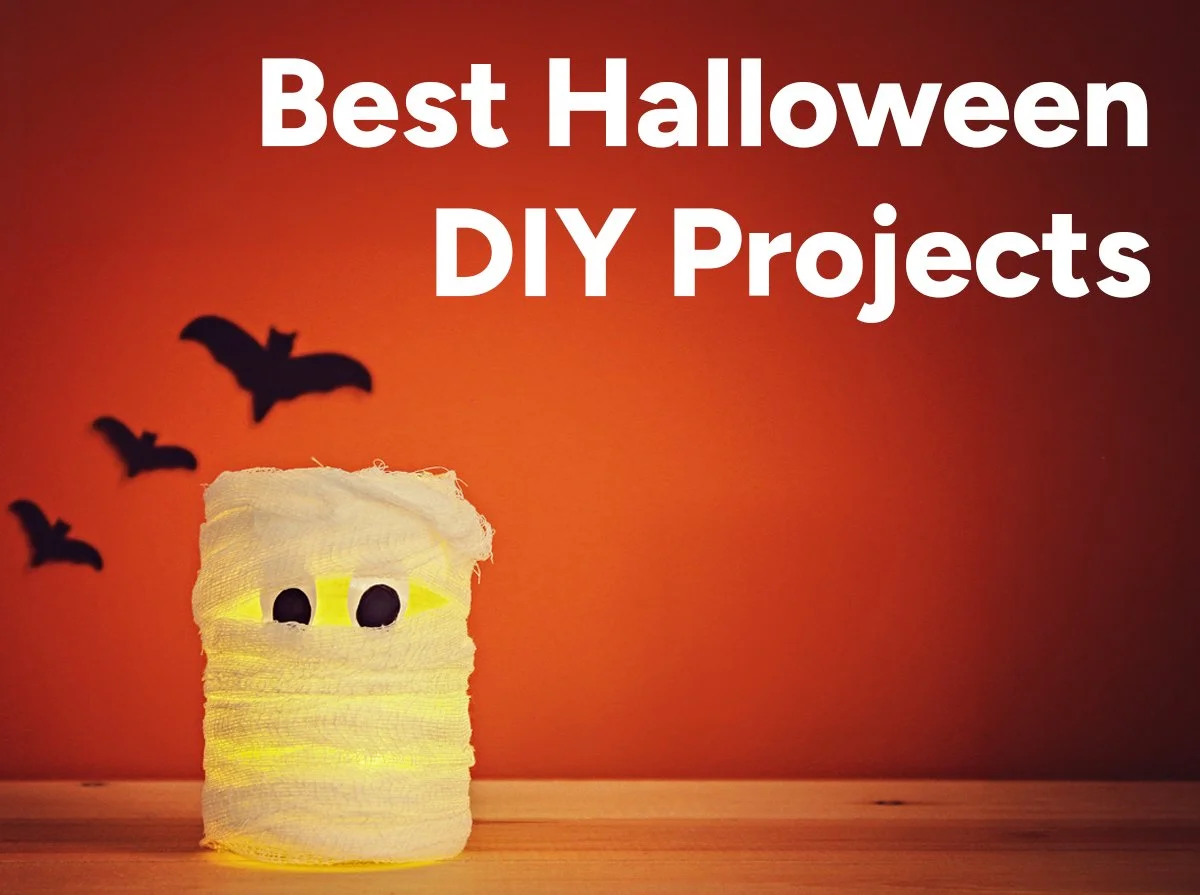
Best Halloween DIY Projects: 7 Glowing Decorations to Try This Year
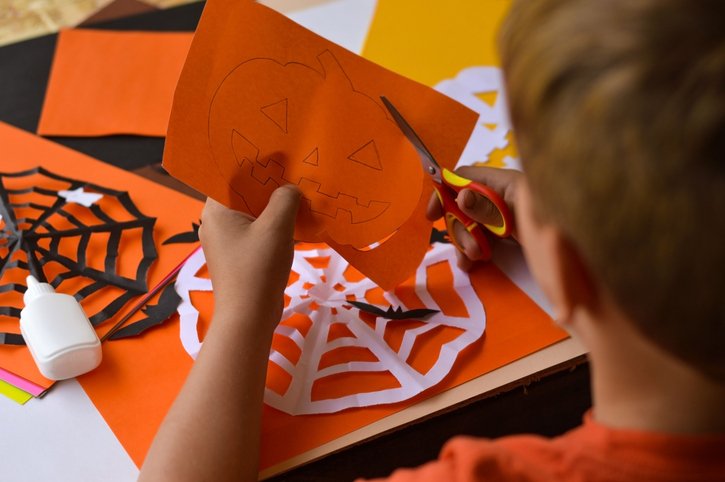
Little boy making DIY Halloween decorations out of construction paper.
It's Spooky Season! Finding the perfect Halloween decor for your frightful setup doesn't have to include searching at dozens of stores and buying high-priced items. Some of the best and most unique Halloween decorations can be made at home using basic craft supplies you probably have lying around the house. And in today's economy, who doesn't want some budget-friendly decor?
We've shared dozens of Halloween-themed DIY posts over the years. Many Halloween crafts are kid-friendly, using inexpensive supplies like paper, jars, and glue, while others are more advanced. Today, we'll revisit some of our most popular Halloween decor DIY projects. And we'll even toss in a few new ones, just in case.
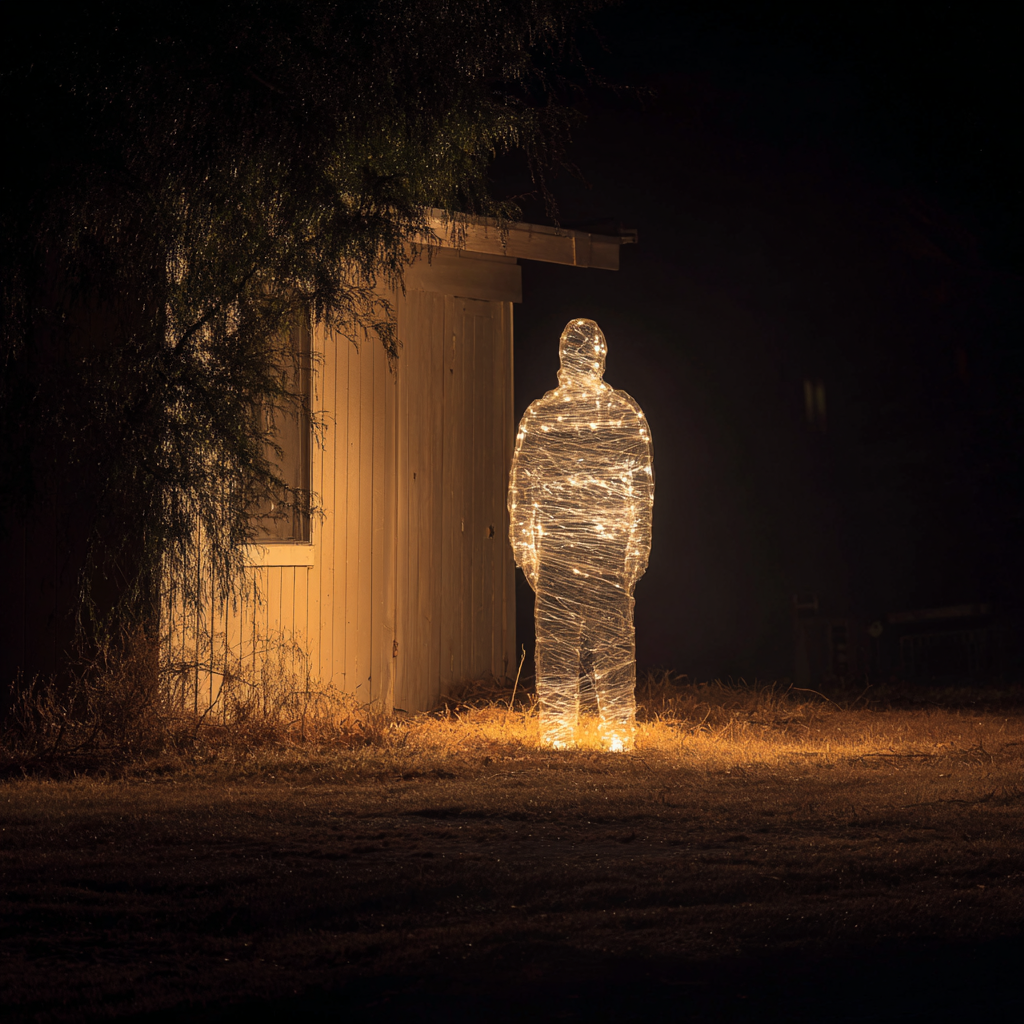
DIY packing tape ghost Halloween decoration lit with LED lights.
1. The Classic Packing Tape Ghost
This first Halloween decoration craft will definitely take a few hours, but the results will be oh-so satisfying. And your outdoor decorations won't be complete without it. Level up the spookiness of your front yard graveyard with a spectral ghost made from packing tape. For a full-body apparition, you will need a dress form with a styrofoam head at the top, plastic wrap, and clear packing tape.
Wrap the dress form and head with multiple layers of plastic wrap, then wrap everything in layers of packing tape. Once it's to your liking, very carefully cut up the side to release the silhouette. Add LED string or solar lights to make the shape stand out more after dark. For a more eerie effect, use colored lights.
DIY Tip: You can use this same method from on your hands and legs, but be careful when cutting the silhouette.
Read our full packing tape ghost tutorial for step-by-step instructions on how to make a packing tape ghost.
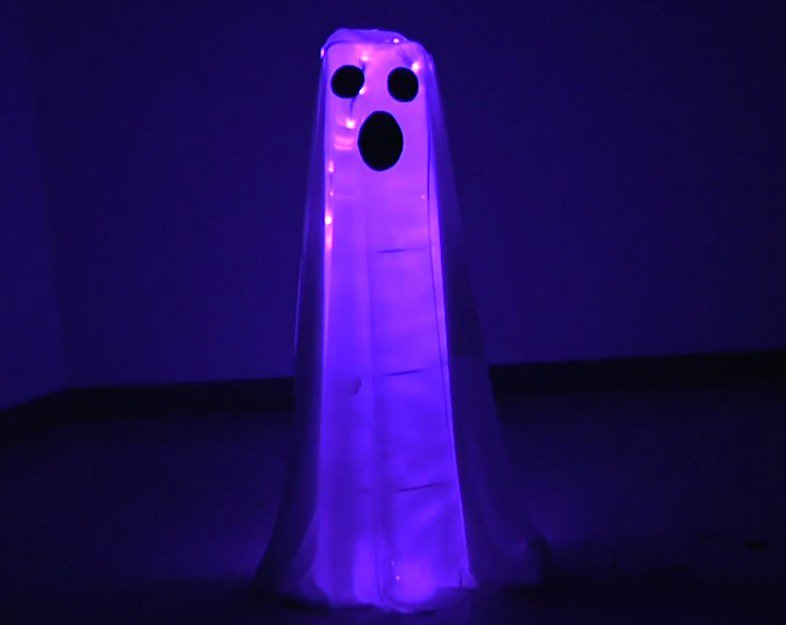
Glowing DIY ghost yard Halloween decoration lit with LED string lights.
2. Glowing Ghost Yard Halloween Decoration
Another popular DIY Halloween decoration project is creating a light-up ghost to set in your yard or front porch. This spooky holiday decor is kid-friendly and very simple to make. All you need is:
A tomato cage
An old sheet
Cover the tomato cage with the sheet, then hang the lights from the 'head' of the ghost, letting them fade down the body to create a floating effect. Younger kids can add a face using markers or puff paint. For a permanent face, cut the eyes and mouth out of black fabric and sew them in place with a sewing machine.
DIY Tip: Don't have a tomato cage? Chicken wire works too. Form it into a cone shape, making sure to tuck or snip away any sharp points.
For lights, you can use any plug-in string lights or battery-operated lights. Popular Halloween colors include red, purple, green, and warm white. Wide-angle LED mini lights are ideal and will give your ghost a glowing effect. To make it look like it's appearing and disappearing, use incandescent lights with the flash bulb installed.
When deciding where to place your DIY ghost, plan extension cord placement if you're using plug-in string lights. To avoid creating a tripping hazard, don't run the cord across sidewalks or footpaths. Also make sure the extension cord is outdoor rated.
Read our step-by-step ghost yard decoration guide, or watch the video tutorial below:
3. LED Light Suit Costume
If you are looking for a more advanced project, then this light-up Halloween costume DIY is for you. The LED "stick figure" man costume became popular several years ago, and it is one of our most requested DIY projects as the completed costume is a showstopper. This costume consists of wiring LED tape light through a hoodie and sweatpants and powering it with a battery pack.
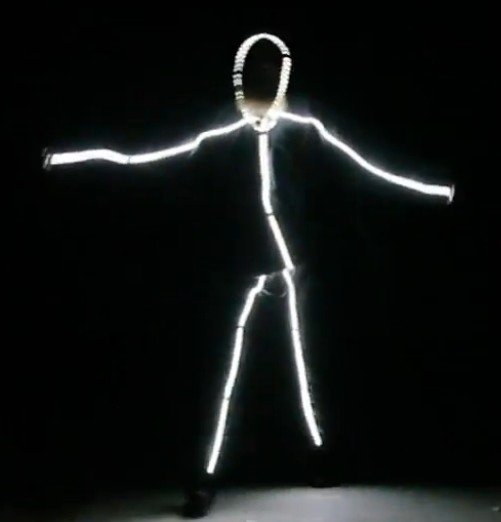
DIY LED light suit Halloween costume tutorial
DIY Tip: Don't want to tear up brand-new clothes? Go to a thrift store for sweatpants and a hoodie. In fact, thrift stores are a great place to find DIY materials.
We strongly recommend using 12V LED tape light. This is for electrical safety to ensure you don't shock yourself. Using 12V tape light will also keep you from blinding other trick-or-treaters, as 24V options can be incredibly bright. We also recommend using a spray adhesive to attach the tape lights and not hot glue. Hot glue can burn or melt the tape light, causing sections to no longer work. You can get the full LED light suit costume tutorial here.
Warning: Remember to use care when working with or around electrical equipment. We are not liable if you accidentally shock, electrocute, or harm yourself in any way. That being said, it’s highly unlikely that will happen when using low-voltage LED tape light.
Want to see the finished product we crafted in the office? Watch below:
4. Mason Jar LED Jack o' Lantern Lights

Mason jar LED pumpkin light DIY Halloween decoration
Do you hate putting candles in pumpkins as much as we do? While traditional, candles can pose a fire hazard as the pumpkin dries out. A safer option is to make mason jar pumpkin lights using color-changing LED tape light. For this Halloween craft, you will need a mason jar, carved pumpkin, two feet of RGB LED tape light, and the appropriate power supply and controllers. You can also opt for battery power instead, using the same method as the stick man light suit.
Once the pumpkin is carved, place the tape light inside the jar and make all your power connections. If using a regular plug-in power supply, you can drill a hole in the lid to let the cords through. If using batteries, place the battery pack into the jar as well. Once ready, place the jar in your jack o' lantern and turn on the lights, using the controller to change the light color.
Check out our mason jar pumpkin lighting tutorial for the full list of steps. The tutorial also features instructions for two other no-candle pumpkin light DIYs: a no-carving option and a drill-hole variation.
5. Spooky Windows with Colored Light Bulbs
This next spine-chilling DIY holiday decor project involves using colored light bulbs (LED or incandescent) to create spooky window lights. Essentially, you will backlight the window with color so that any window decor casts an eerie silhouette.
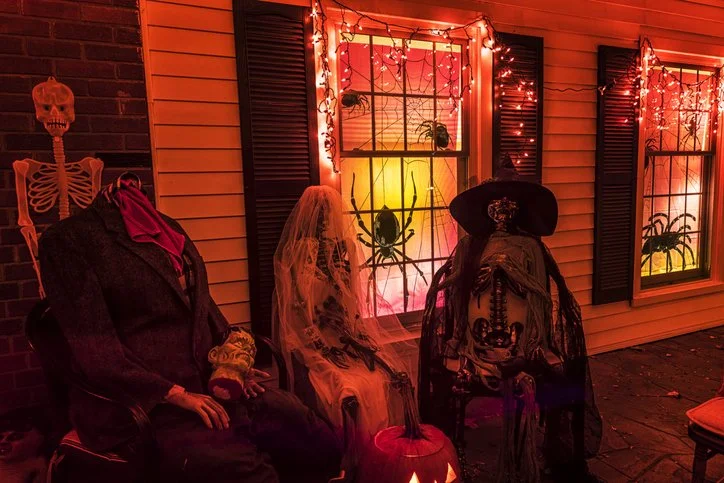
Spooky Halloween window lit with colored LED light bulbs
Method 1: Construction Paper Silhouettes
This method is pretty easy and gives you crisp, sharp silhouettes. You only need black construction paper, tape, and a colored bulb. It's a great decoration idea for kids, and plenty of silhouette templates are available online that you can quickly cut out. Just follow these super simple steps:
Trace out shapes on black construction paper and cut them out. Shapes can be bats, a witch, a haunted tree, a cat, whatever you can think of that's spooky.
Take the shapes to the inside of the window.
Use the mini blinds or curtains to create a background. If your blinds and/or curtains block light or are dark, remove them and drape a white sheet over the windows instead.
Place a table lamp, floor lamp, or multi-purpose spotlight fixture nearby with a colored bulb so that it lights up the window.
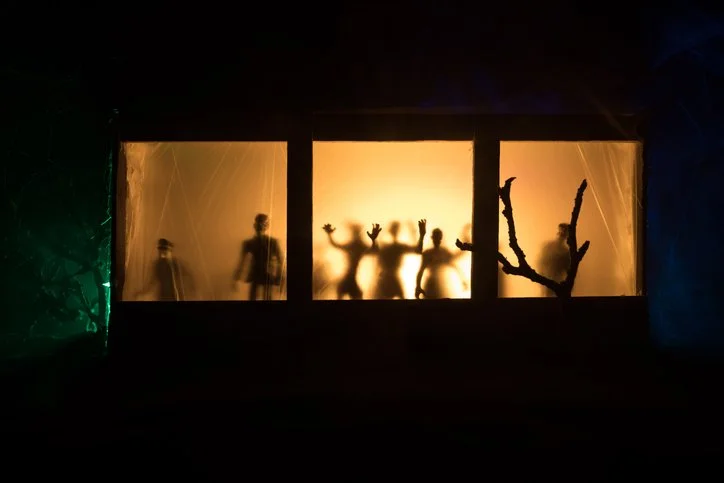
Halloween decor backlit to cast distorted shadows.
Method 2: Backlit Props
Instead of cutting out silhouettes, this method lets you use Halloween decorations you already have. Place decorations on a stand or table behind the window. Light them from behind or below so that they cast a large, distorted shadow. This is ideal for skeletons, spiders, and other large props. You can also play around with the light angle to further distort the creepy shadow effect.
Tips for Buying Bulbs
For typical fixtures like table and floor lamps, look for either A19 or A21 colored bulbs with a standard household base (medium E26), as these are the most common household bulbs. A15s and S14s can also work. Small decorative fixtures may have smaller candelabra (E12) or intermediate (E17) bases. These fixtures typically use chandelier and globe bulbs.
The classic Halloween colors are purple, green, and orange. Purple is commonly used for eerie looks, while green is associated with witches and anything toxic. Orange is the traditional Halloween color (think pumpkins!) and will go with nearly all decorations. Yellow, warm white, and blacklight bulbs are also commonly added to create depth and effects.
DIY Tip: Want to give your Halloween decorations an extra creepy or "mad scientist" look for a Halloween party or trick-or-treaters? Add in a few antique light bulbs.

Kid-friendly Halloween mason jar craft with LED tea lights
6. Easy DIY Decorated Mason Jars with Tea Lights (Kid-Friendly)
Make Halloween decorating more kid-friendly with these next couple of ideas. First up is small decorated mason jars lit with LED tea lights. This is a fun, inexpensive activity for beginning crafters that lets them use any number of craft items to decorate their mason jar. The finished products can be used on tables, mantels, or even walkways.
You can decorate the mason jar in a variety of ways. Let your kids get creative and don't be afraid of a beautiful mess. Ideas include:
Paint them with glow-in-the-dark or blacklight paint.
Create colorful stained glass effects with tissue paper (or napkins) and Mod Podge.
Cover them with spider webs.
Use black construction paper and Mod Podge to make creepy silhouettes.
Other things you can use to decorate with are pipe cleaners, glitter, glass paint, and puff paint. Once the jars are decorated with your child's art, drop in a battery-operated LED tea light. These LED lights are safe, as you don't have to worry about an open flame or the glass getting too hot. Plus, you don't have to worry about running cords and creating a tripping hazard. You can also use battery-operated LED lights if you want different colored lights.
DIY Tip: Make sure there is adult supervision if little ones will be using scissors.
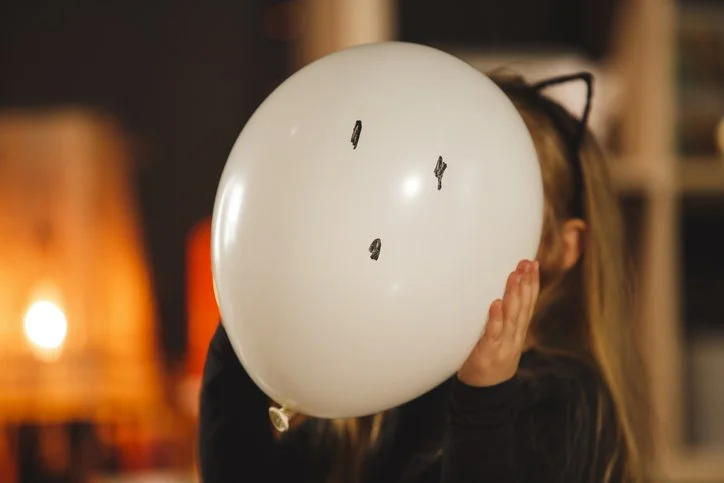
DIY glow stick ghost balloons for Halloween
7. Ghost Balloon Glow Sticks (Kid-Friendly)
Our last Halloween craft is also kid-friendly: glowstick ghost balloons. This is a fun way to add spooky lights to yard displays, the front porch, or Halloween parties. It's also the simplest, most hands-on DIY Halloween project on our list for kids. All you need is a white balloon, glowstick, and a marker. Follow these three simple steps:
Activate (crack) the glowstick and put it inside the balloon.
Blow up the balloon and tie it off.
Carefully use the marker to draw a face.
Place the finished ghost balloons anywhere you want to add a spooky vibe. To switch it up, you can use an orange balloon and draw a pumpkin face. If you want them to float, inflate the balloons using helium. Just make sure that the glowstick isn't too heavy. The glowstick should easily last the night.
DIY Tip: If you don't want younger children using balloons, use plastic milk jugs instead.
Honorable Mention: Moving Witch's Broom
I absolutely had to include this one for fun since many of us at the office have robot vacuums. Plus, I've seen a lot of videos for them lately. You can give your little vacuum a witchy makeover by making a witch's broom to place on top of it. It's the perfect indoor decor for Halloween parties. This is a super easy DIY Halloween craft that can be made using two methods.
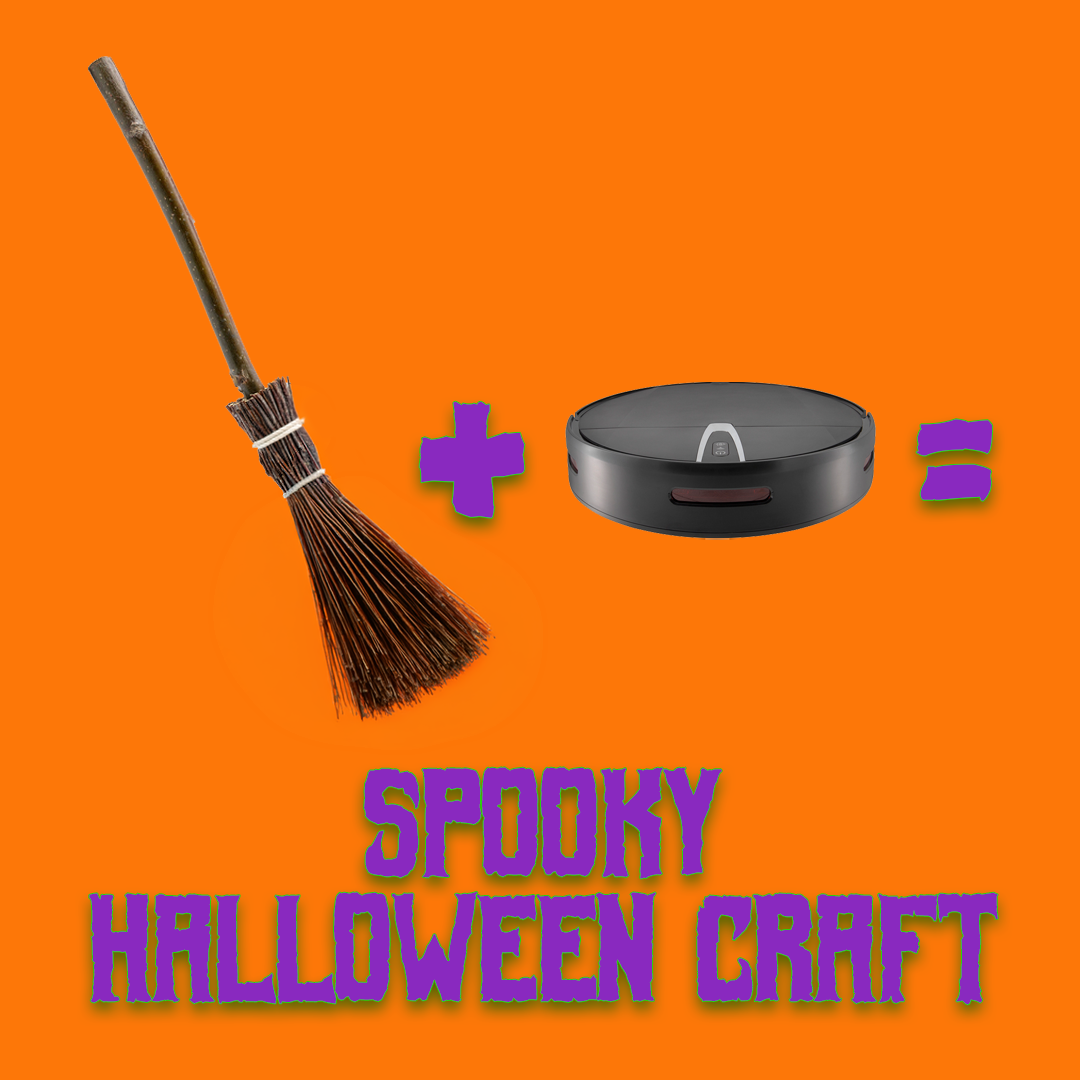
The first method uses a styrofoam cone, a stick, a small plastic plate, raffia table skirt, hot glue, duct tape, and command adhesive strip. Use the adhesive strips to attach the plate to the vacuum, then hot glue the cone to the plate. Attach the stick to the cone using either hot glue or tape. Next, wrap the raffia around where the cone and stick meet and glue it down. The more layers of raffia, the fuller the broom will look. Trim the raffia so it's not getting caught in the vacuum, and you are good to go.
DIY Tip: If you don't like the color of the stick or want to conceal the cone, paint them ahead of time with spray paint. Just give them time to dry before assembling.
The second method is far more kid-friendly, letting them make the broom with construction paper and paper towel tubes. Prepare the base as you did in the first method: attach a small plastic plate to the vacuum using removable adhesive strips. Tape the paper towel tubes together end-to-end until the 'broomstick' has reached the desired length, then glue or tape it down to the plate (glue will provide a better hold). Next, and with adult supervision, cut out the bristles from brown or white construction paper and glue them in place. Make sure the bristles won't get caught in the vacuum, and your craft is finished.
DIY Tip: Keep in mind that once the broom is on the vacuum, it won't go under furniture. Adjust your cleaning schedule and areas as needed to ensure it doesn't knock your broom off while going under the couch.
Find All Your Halloween Craft Lights and More Ideas at 1000Bulbs
We've covered a wide range of DIY Halloween projects in this post, from easy (Spooky Windows) to advanced (Packing Tape Ghost DIY), and kid-friendly (Glowstick Ghost Balloon) to a total showstopper (LED tape light costume). All of these DIY projects are perfect for building the best Halloween decorations for your house or scary display using the most basic craft supplies on hand.
For more creative ideas for DIY Halloween decorations, costumes, and decor, check out our Halloween Decorating & DIY Ideas page. And you can shop all of our Halloween lights on our Halloween page. Do you have your own creepy craft to share? Tell us about it in a comment below, or share it with us on Facebook, Instagram, X, or Pinterest. We always love seeing pictures of DIY Halloween decorations and crafts.
Halloween Decoration DIY FAQs
What is the easiest Halloween DIY decoration to make?
For a beginning crafter, the easiest DIY Halloween craft in this list is the spooky windows. Just tape shapes cut from black construction paper to the inside of a window, then backlight it with incandescent or LED bulbs for an instant creepy silhouette.
How do you make a glow-in-the-dark ghost balloon?
To make a glow-in-the-dark ghost balloon, you will need a cracked glowstick, white balloon, and a black marker. Insert the cracked (activated) glowstick into the balloon, then blow it up. Once it's been tied off, draw the eyes and mouth on the balloon. Use helium if you want the balloon to float.
What lights are safest to use inside a pumpkin?
The safest lights to use in pumpkins are battery-operated LED lights or tea lights. These lights are safer than traditional candles as they are cool to the touch and remove the risk of an open flame.
Are any of these DIY Halloween projects kid-friendly?
Yes, several of these Halloween craft projects are kid-friendly. The easy DIY decorated mason jars and the glowstick ghost balloons are the most kid-friendly projects in this list.
How long do glowsticks last in a balloon ghost?
Many standard glowsticks can last 4 to 8 hours on average and may stay faintly visible for up to 24 hours, so they can easily last through a Halloween night or party.