

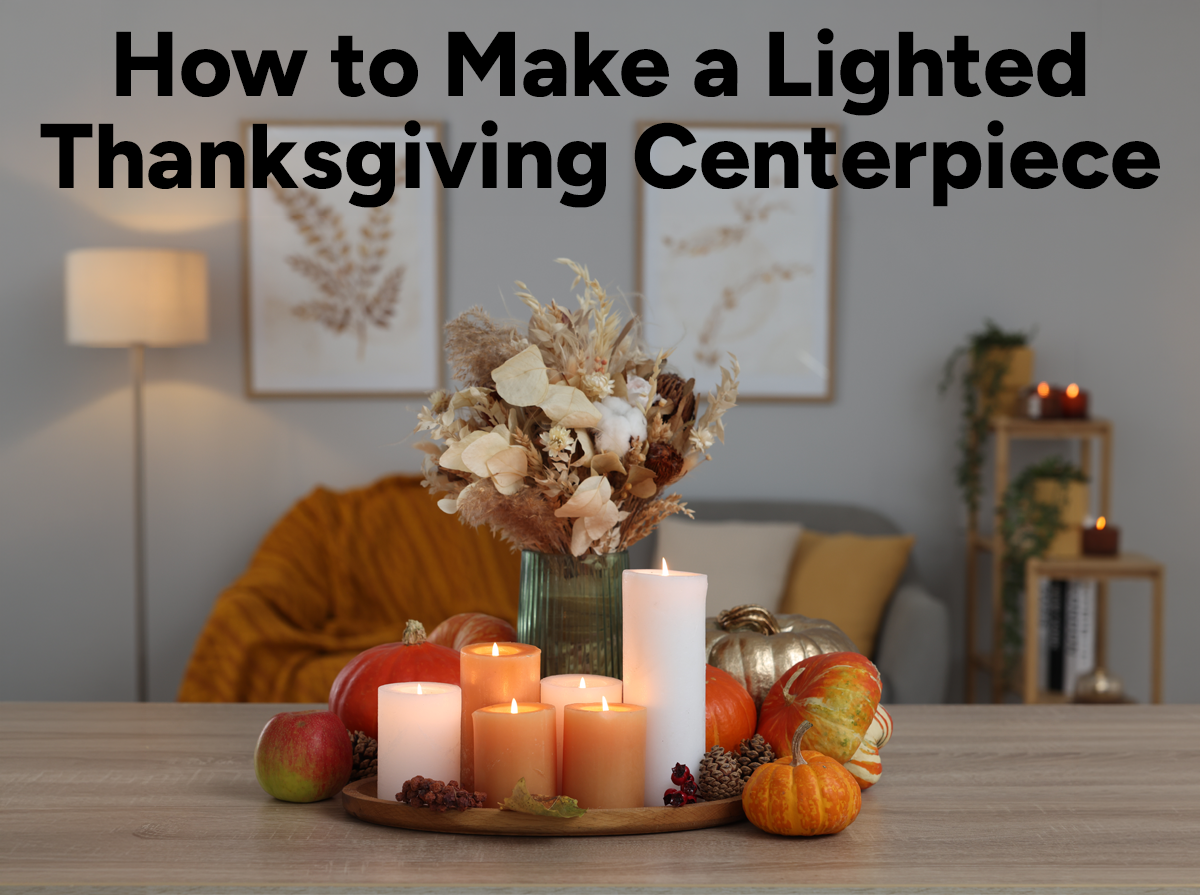
How to Make a Lighted Thanksgiving Centerpiece in 7 Easy Steps

A Thanksgiving table without candlelight feels incomplete, but real flames sitting inches from dried leaves and fabric napkins make most hosts nervous. A lighted centerpiece built with battery-operated fairy lights and flameless candles solves that problem while adding the same warm glow.
This guide walks through the full process, from gathering materials to arranging pumpkins and hiding the battery pack, so your centerpiece looks intentional rather than improvised.
What You Need for a Lighted Thanksgiving Centerpiece
A lighted Thanksgiving centerpiece comes together with a shallow wooden tray as the base, a layer of Spanish moss or dried autumn leaves for texture, mini pumpkins and pinecones for visual weight, and battery-operated fairy lights or flameless candles for the glow. The lights weave through the natural elements while the battery pack hides underneath a cluster of foliage, staying accessible so you can switch everything on right before guests sit down.
Gathering materials ahead of time makes the actual assembly quick. Most people finish in about 30 minutes once everything is laid out.
Here's what to collect:
Base container: A wooden tray, wicker basket, or low ceramic dish. Pick something shallow enough that your arrangement stays visible from across the table.
Natural filler: Spanish moss, mixed moss, or dried leaves to create a textured bed.
Focal elements: Mini pumpkins, gourds, pinecones, and berry sprigs.
Lighting: Battery-operated fairy lights, LED leaf string lights, or flameless pillar candles.
Optional accents: Eucalyptus sprigs, cinnamon sticks, or a pre-lit garland.
One thing worth mentioning: battery-operated lights remove the fire risk that comes with real candles sitting near dried leaves and moss. If you like the look of pillar candles, flameless LED versions give you the flicker without the hazard.
Step 1: Prepare Your Base
Start by setting your tray or platter on a flat work surface. Line the bottom with Spanish moss, mixed moss, or flat autumn leaves, spreading the material evenly to create a natural-looking bed.
This moss layer does two things at once. It adds texture to the finished arrangement, and it cushions your battery pack so the pack sits flat and stays hidden. Leave a small gap near one edge of the tray where you can tuck the battery compartment later. That way, you can reach it without dismantling the whole display.
Step 2: Position Your Lights

Before adding any pumpkins or pinecones, lay out your fairy lights or leaf string lights across the moss. Weave the strand loosely so the bulbs spread throughout the arrangement rather than bunching up in one corner.
If you're working with a pre-lit garland instead, wrap it in a loose spiral from the center outward. Either way, keep the battery pack near the edge of the tray. Some people tuck the pack completely underneath a cluster of pinecones, while others leave a small section exposed for quick access.
Tip: Test your lights before you start arranging. Discovering a dead battery after the centerpiece is finished means taking everything apart.
Step 3: Add Flameless Candles as Focal Points
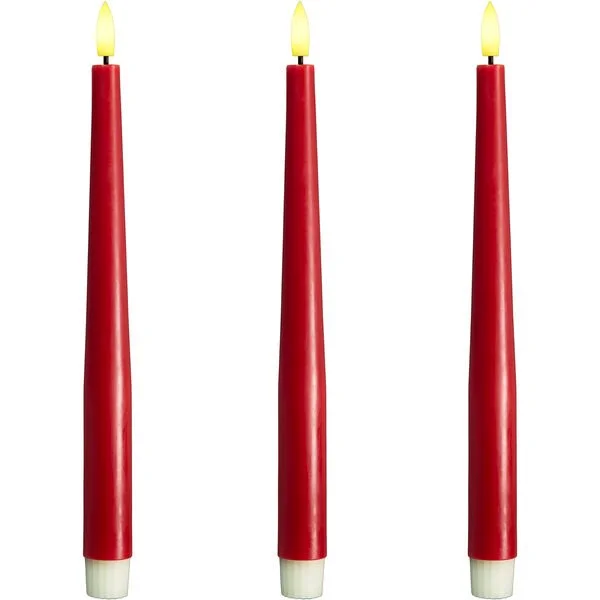
Place flameless pillar candles or LED tea lights in the center of the arrangement. You can also distribute them at varying heights if you want more visual interest. The candles become anchor points that draw the eye, while the fairy lights fill in the surrounding glow.
For a more floral look, nestle a small floral foam ring in the center and arrange fall roses, marigolds, or eucalyptus around the candles. The foam keeps stems upright and adds height without tipping over.
Step 4: Arrange Pumpkins and Harvest Elements
Now the arrangement starts to take shape. Nestle mini pumpkins and gourds around your candles and lights, varying sizes and colors so the display looks gathered rather than store-bought.
Fill in gaps with pine cones, berry sprigs, and extra leaves until the wires and battery pack disappear. Work in layers: place larger items first, then tuck smaller accents into the spaces between. Step back occasionally to check your arrangement from the angles your guests will actually see.
| Element | Purpose | Placement Tip |
|---|---|---|
| Mini Pumpkins | Anchor the arrangement | Group in odd numbers near the center |
| Pinecones | Add texture and height | Tuck between pumpkins to fill gaps |
| Berry Sprigs | Provide color contrast | Weave through the outer edges |
| Eucalyptus | Soften hard edges | Drape over the tray rim |
Step 5: Tuck and Hide the Mechanics
Take one more pass through the arrangement to make sure all wires, battery packs, and foam are concealed. Adjust anything that looks too uniform or too crowded.
The goal is a centerpiece that looks abundant without being overstuffed. If something feels off, try removing one or two items rather than adding more. A little negative space lets the eye rest and makes the lighting more visible when you turn everything on.
Step 6: Test the Glow
Switch on your LED lights and flameless candles to see how the arrangement looks when lit. Check for dark spots where you might want to reposition a strand, and make sure the candle flicker shows through the surrounding elements.
This is also a good time to adjust candle heights. If a flameless pillar gets lost behind a tall gourd, raise it on a small dish or move the gourd to the side. The lighting is the point of this project, so give it room to do its job.
Step 7: Set the Scene Before Guests Arrive
Move your completed centerpiece to the table and turn on the lights just before guests arrive. The warm glow creates an atmosphere without competing with overhead lighting or conversation.
A few practical points for table placement:
Height: Keep the arrangement low enough that guests can see each other across the table.
Reach: Position the battery pack where you can access it without taking the display apart.
Stability: Place the centerpiece away from the table edge where it might get bumped during dinner.
Tips for Choosing the Right Lights
The type of lights you pick affects both the look and the practicality of your centerpiece. Fairy lights with warm white LEDs create a cozy glow that complements orange and red autumn colors. Cool white LEDs feel more modern but can clash with traditional fall tones.
Battery-operated lights are the most practical choice for a table centerpiece because they eliminate cords running across your tablecloth. Look for lights with a timer function if you want the centerpiece to turn on automatically each evening during the holiday week.
1000Bulbs.com carries battery-operated and plug-in options in warm white, multicolor, and specialty finishes like leaf-shaped bulbs.
Common Mistakes and How to Avoid Them

Overcrowding the arrangement. When every inch is filled, the lights get buried, and the overall effect feels cluttered. Leaving some breathing room makes the glow more visible.
Forgetting to test the lights. Always check batteries and bulbs before arranging. Replacing a dead strand after everything is in place means starting over.
Using real candles near dry materials. Dried moss, leaves, and pinecones catch fire easily. Flameless LED candles give you the same warm flicker without the risk.
Placing the centerpiece too high. A tall arrangement blocks sightlines and makes conversation awkward. Keep the highest point below eye level when guests are seated.
Ideas for Variations and Personal Touches
Once you have the basic approach down, you can adapt it for different table sizes, color palettes, or occasions.
For a longer table, create two or three smaller arrangements instead of one large centerpiece. Space them evenly down the center and connect them visually with a simple table runner or scattered leaves between.
If you prefer a monochromatic look, stick to white pumpkins, silver pinecones, and cool white lights. The effect is elegant and works well for a more formal Thanksgiving dinner. For a rustic farmhouse feel, swap the wooden tray for a galvanized metal container and add burlap ribbon around the edge.
Get the Lights You Need at 1000Bulbs.com
Whether you're making a single centerpiece or decorating an entire tablescape, the right lights make the difference. 1000Bulbs.com stocks battery-operated fairy lights, LED candles, and seasonal string lights that ship quickly from Texas.
For expert help choosing the right lights for your project, call 1-800-624-4488.
Frequently Asked Questions
What lights work best for a Thanksgiving centerpiece?
Battery-operated LED fairy lights and flameless candles are the most practical choices. LED fairy lights eliminate cords, reduce fire risk near dry materials, and provide a warm glow that lasts through the evening on a single set of batteries.
Can I use real candles in my centerpiece?
Real candles create a fire hazard when placed near dried moss, leaves, and pinecones. Flameless LED candles provide the same flickering effect without the risk, making them a safer choice for arrangements with natural materials.
How far in advance can I make my centerpiece?
You can assemble the arrangement a day or two ahead and store it in a cool, dry place. Wait to turn on the lights until just before your gathering to preserve battery life. Fresh elements like eucalyptus may wilt, so add those closer to the event.
How do I keep my centerpiece from looking too crowded?
Start with your largest elements and add smaller accents gradually. Step back frequently to check the overall balance, and remove items if the arrangement feels overstuffed. The lights are the focal point, so give them room to show through the other elements.